This post has been republished via RSS; it originally appeared at: Core Infrastructure and Security Blog articles.
First published on MSDN on Nov 17, 2016Hey party people – long time, no see! You may have noticed (or maybe you didn’t) that I took a hiatus from blogging for a while. Well I’m back and kicking off my return with another post series, this time about management agents. Although eventually I’d like to cover the configuration of all commonly used management agents, I’m going to start with the few core MAs you’re probably going to need (ADMA, MIMMA, SQLMA). Bear with me as some of the screenshots I’m using are recycled and I will need to update them. That being said, all the technical details are the same and I want to go ahead and get this out there where it might help someone.
So, without further adieu, let’s get rollin’…
Before we can manipulate users and/or groups with the FIM Synchronization Engine, it is necessary that we create Management Agents. Here, we will create a Management Agent for connecting to Active Directory.
Begin by opening the Synchronization Engine

In the menu on the top right-hand corner, select “Create”

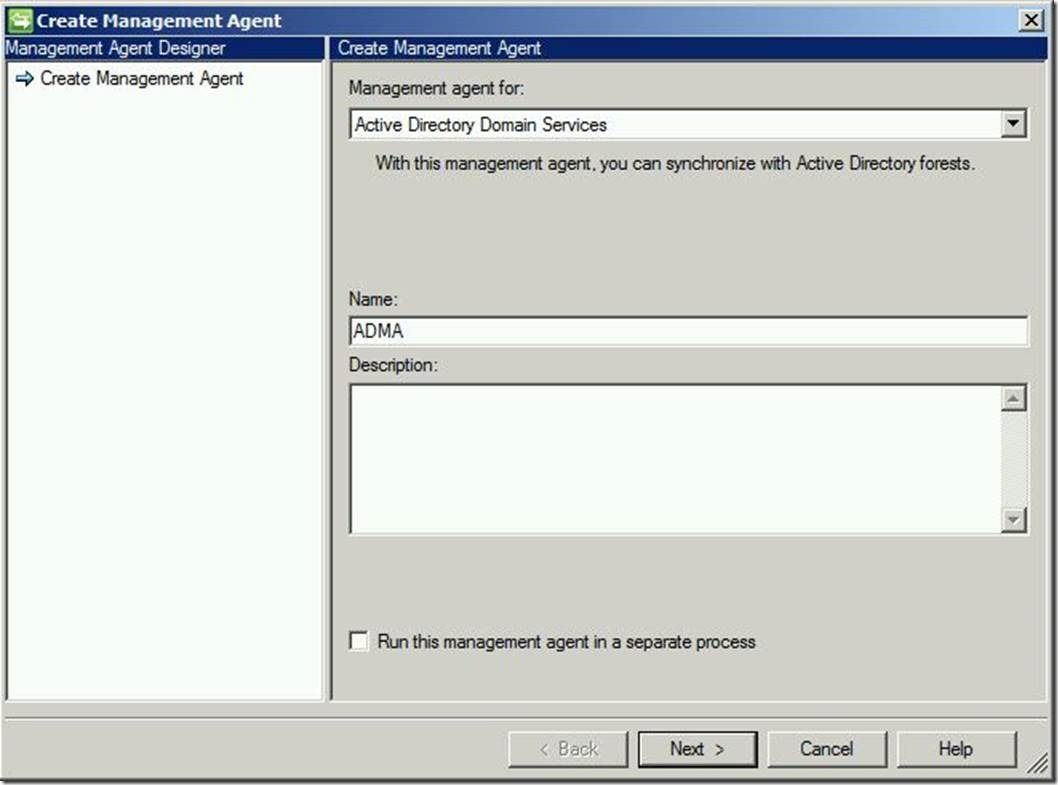
This will open the “Create Management Agent” wizard. For “Management agent for:”, select “Active Directory Domain Services”. Enter a name for this MA, then click “Next” to continue
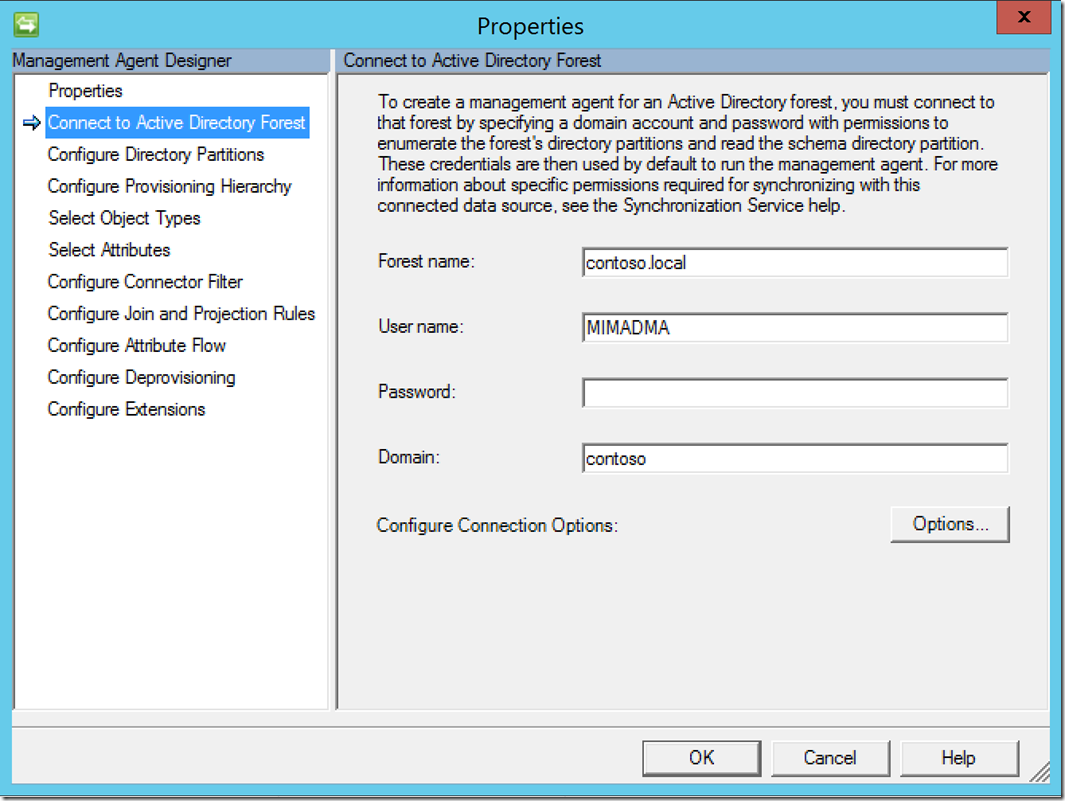
Enter your Forest name, as well as an administrative user account, its password and domain, then click “Next”
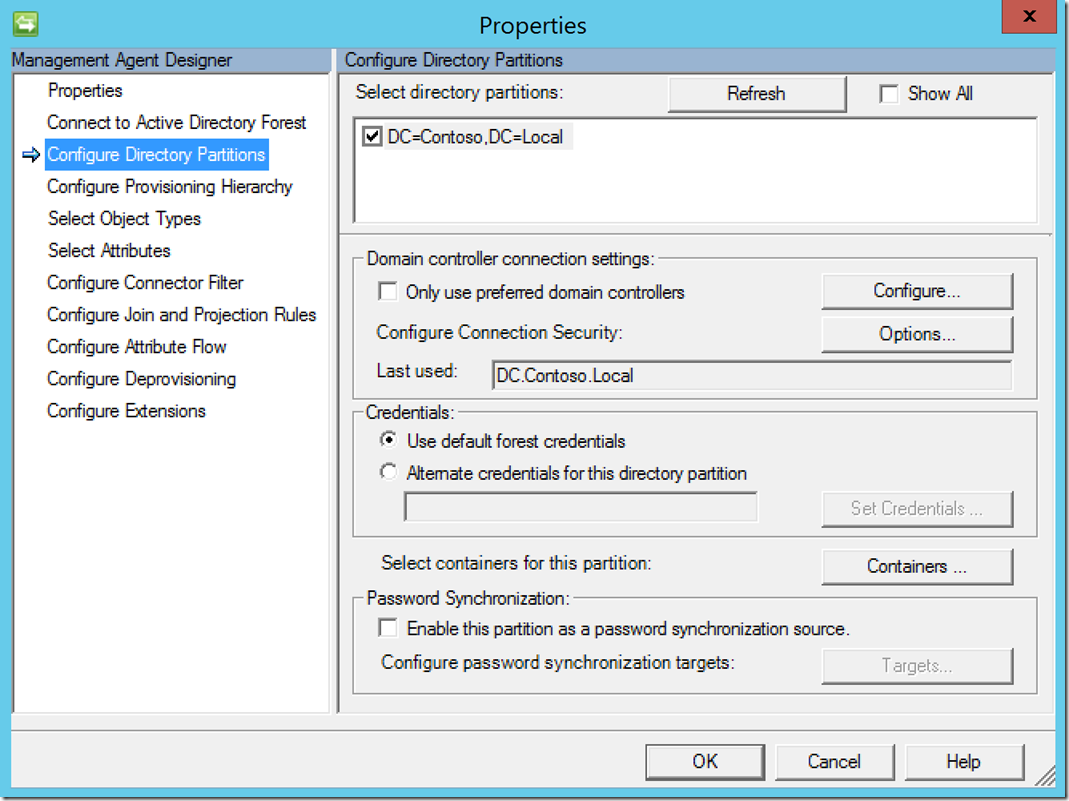
Select the partition you wish to manage. Next, click on “Containers”
This will open a list of available containers. Select the ones you wish to manage with FIM, then click “OK”
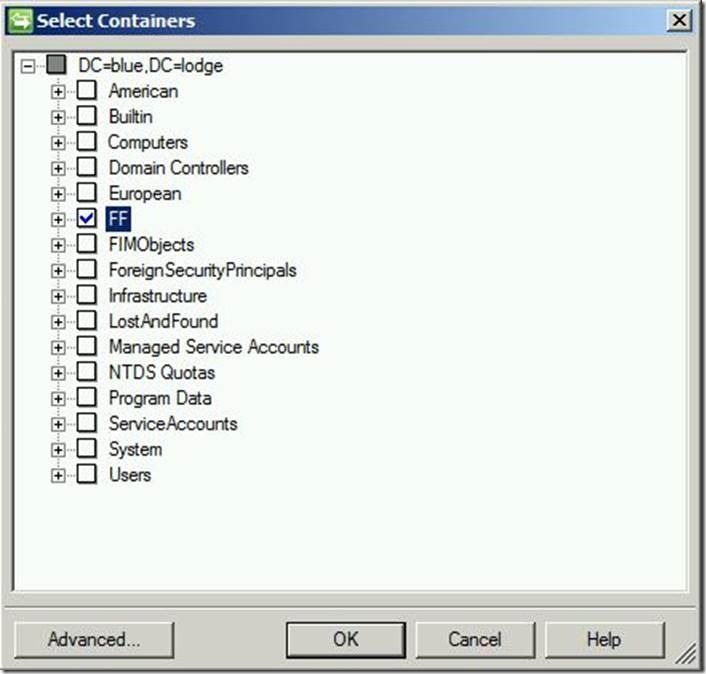
This will return you to the previous window. Click “Next” to continue.

For the time being, we will leave this default. Click “Next” to continue.
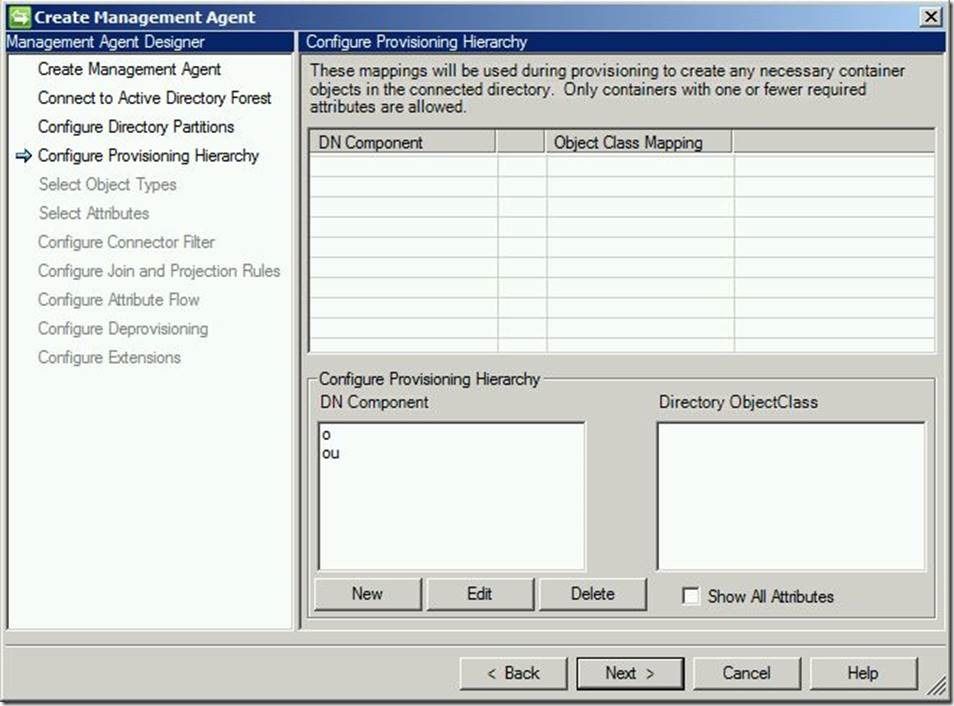
Provisioning hierarchy, in case you’re wondering, gives us the ability to create OUs that currently do not exist and bring them into scope based on a defined path in the DN. For example, if I am attempting to build a user DN like:
CN=Abe Lincoln,OU=Republicans,OU=Presidents,DC=Contoso,DC=Local
And there is no “Republicans” OU under “Presidents”, if I have provisioning hierarchy configured it will automagically create it and bring it into scope for me. While this can be very handy in certain circumstances (i.e., acquisitions and mergers), this can also get you into some seriously trouble if you’re building malformed DNs.
Under “Object Types”, place a check in the box next to “user” and click “Next”
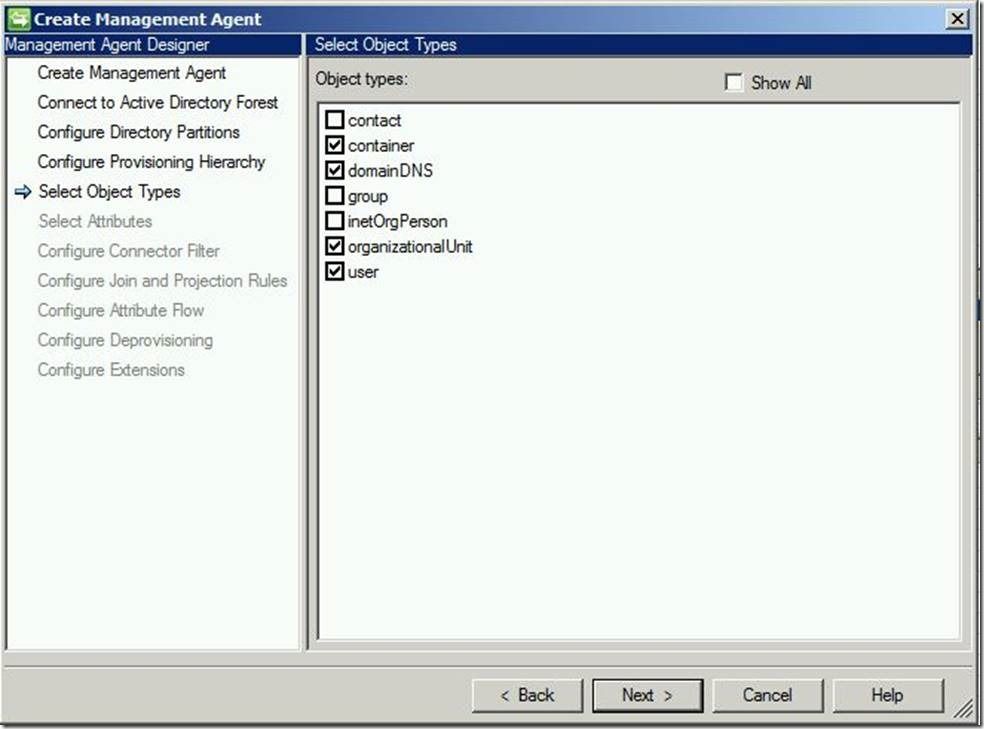
Select the attributes you wish to manage, then click “Next”

For the “Configure Connector Filter” tab, we’re going to leave these default (blank) and click “Next”.

For “Join and Projection Rules”, select the “User” and click “New Join Rule”.

Under “Data Source Attribute” and “Metaverse Attribute”, select the corresponding (unique) values you’d like to attempt a join on. Here, we see I am mapping “employeeNumber” in AD to the custom attribute “PoliticianID” in my myetaverse. Once you have made your selection, click “Add Condition”:.

You may then receive the following warning:

Click “OK” to continue.
Here we see our join rule:

At this point, you may follow the same steps to add additional join criteria, as such:

It is worth noting that you may have any number of join conditions here, as we would prefer a join to a possible projection of a duplicate object. Also of interest is these become an “or” where it starts with the first condition and, if a join is unable to occur, it continues down the list attempting joins until there is no more criteria. At that point a project happens.
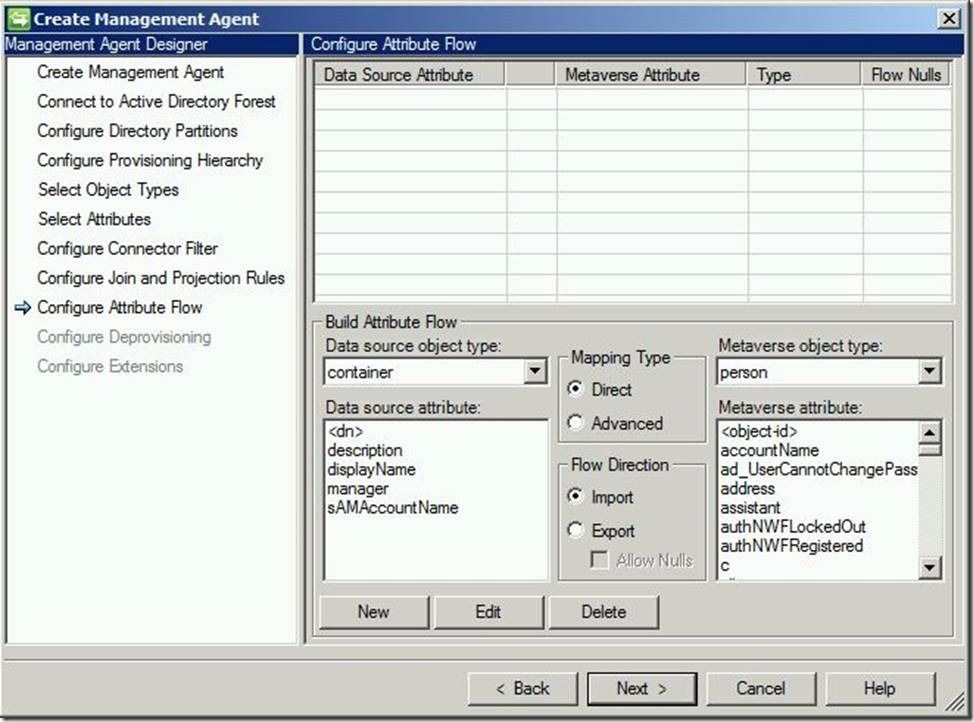
For “Attribute Flow”, you may leave this default and click “Next” to continue.
For “Deprovisioning”, you may leave this default and click “Next” to continue.
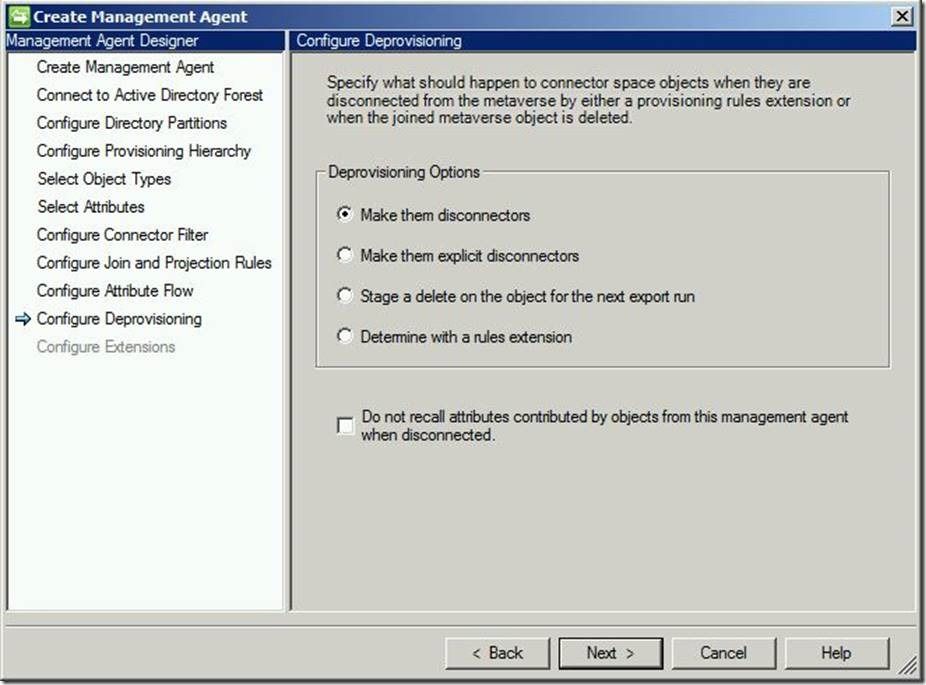
For an explanation of these options, please see this post for disconnections, this post for explicit disconnections and this post for deletions.
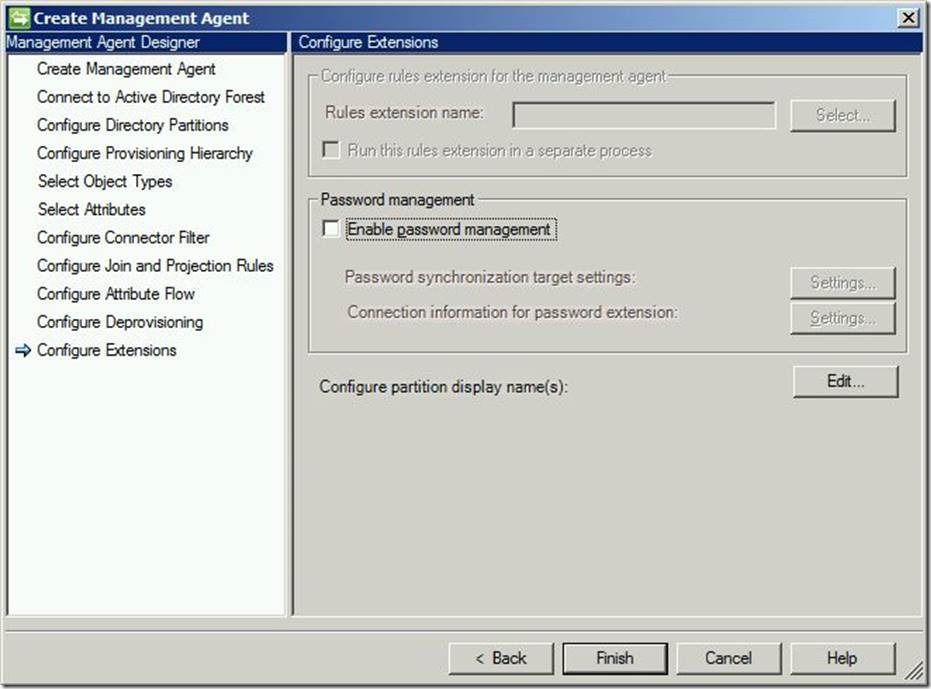
For “Extensions”, you may leave this default. Now, click “Finish”
Questions? Comments? Love FIM so much you can’t even stand it?
>WE WANT TO HEAR FROM YOU<
## https://blogs.msdn.microsoft.com/connector_space # #
