
This post has been republished via RSS; it originally appeared at: Core Infrastructure and Security Blog articles.
First published on MSDN on Sep 15, 2017This is Part 5 in a series of commonly used management agents. In Part 1 we looked at configuration of an Active Directory Management Agent (ADMA); in Part 2 we looked at the configuration of the FIM Service Management Agent (FIMMA), and in Part 3 we looked at the configuration of a Microsoft SQL Management Agent (SQLMA) and, finally, in Part 4 we configured a Delimited Text File Management Agent. With this post, we’ll take a look at what I consider to be the last of the most commonly used management agent types: Active Directory Lightweight Directory Service.
As before, to begin navigate to your Synchronization server.
From here, click “Create”. Using the “Management agent for:” drop down menu, select “Active Directory Lightweight Directory Services”. Enter a name, then click “Next”.

In the “Connect to Active Directory Lightweight Directory Services” screen, enter a server, port, username/password and domain, then click “next” to continue.

Under “Configure Directory Partitions”, select the AD-LDS partition you’d like to connect to, then click “Containers'” at the bottom.

This will open the “Select Containers” dialogue. Select the AD-LDS containers you’d like to manage, then click “OK”. This will return you to the “Configure Directory Partitions” screen. Click “Next” to continue.

As with Active Directory Directory Services, if you need MIM to auto-create containers as part of object provisioning, complete this section. Otherwise, you may leave it default and click “Next” to continue.

Under “Select Object Types”, select the object types in AD-LDS you wish to manage (i.e., “user”). Click “Next” to continue.

Under “Select Attributes”, you may select any and all attributes you wish to manage that will be present in your AD-LDS instance, then click “Next” to continue.

Here we see some commonly selected attributes.

Unless you have a specific need to filter objects, you may leave this section default and click “Next” to continue.

Next, we must configure a join rule. Click “New Join Rule”.

Under “data source attribute”, select an attribute to attempt a join on with a corresponding attribute under “metaverse attribute”. Here, I am attempting a join from “empoyeeID” (a standard AD-LDS attribute) to “PoliticianID” (a custom metaverse attribute I created). Click “Add Condition”. You may receive the following message; if so, click “OK”, then click “Next” to continue.

Here, you may configure your direct attribute flows if either you plan to use provisioning code or you plan to only flow update values for existing objects (no provisioning). If you intent to use synchronization rules (portal based environment) you may leave this section blank and click “Next” to continue.

In this scenario, I am deploying a sync only solution driven by provisioning code. Here you can see my configured attribute flows.

Here you must choose how you’d like to handle deprovisioning. Here’s an in-depth look at disconnectors , explicit disconnectors and deletions . Once you have made your selection, click “Next” to continue.

Finally, click “Finish” to complete.

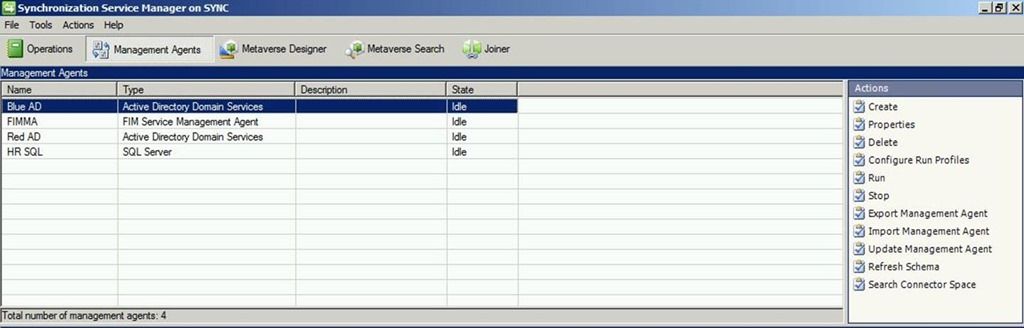
We should now see our newly created management agent.
Questions? Comments? Love FIM/MIM so much you can’t even stand it?
>WE WANT TO HEAR FROM YOU<