
This post has been republished via RSS; it originally appeared at: Core Infrastructure and Security Blog articles.
First published on MSDN on Aug 05, 2015Due to this being the First release of Microsoft Identity Manager i specifically wrote this with the current version highlighted. More details on MIM Service and Portal Upgrade Posting....
Before you Begin
- Be sure you back up your encryption ( See the Section on Backing up Encryption Keys for assistance )
- Be sure to have Fresh backups of the FIMSynchronizationService Database ( See your SQL Administrator for assistance )
- If running a VM i would also do a snapshot ( Although this is not necessary it may be good to have in case of emergency break glass kind of thing )
- When you believe you are ready take a breath get a fresh cup of coffee and lets begin....
Note: The In-place upgrade for the Synchronization Service is actually pretty easy and on the several different scenarios i tested i had 100% success rate so i feel pretty good about it.
If you have upgraded FIM in the Past most of these steps will be familiar to you if not all of them.Navigate to the location of your
- Navigate to the location of the Installation files for MIM 2016 Synchronization Service

- Click on the Synchronization Service.msi file to begin installation.
- You may need to run as an administrator ( I would just run as administrator which has permission to install products in the server ) Right Click on the "Setup.exe" file and run as admin, prompt with credentials if needed.
- You will be presented with the Welcome Screen ( isn't it pretty, notice it already detects that a pre existing Synchronization Service is installed, and provides you the "Update" Button. )

- There is a slight chance that it does not detect a previous version of FIM installed or you are reinstalling MIM 2016 which in that case you would see the following screen.

- In either Case Click on Update or Next
- You will now be presented with the End User License Agreement

- If you accept click on the check box next to "I accept the terms in the License Agreement"

- Click on Next
- You will now begin the configuration of the Synchronization Service, ( It should detect that you have a previous Synchronization Service Installed and have a lot of information populated, if not enter the information needed.)
- Service Account used for the product, (See Environment Prep guide for more details.)
- Password of Service account
- Domain of service account

- Click on Next
- You now need to verify that the Administration Groups required for the Synchronization Service are correct.
- Considering this is an Upgrade you may want to keep the current Admin Groups which already have the necessary users as members but you may want to rename or create all new ones to use, in any case make sure that the Correct Admin Groups are populated ( See Environment Prep Guide for more information if needed.)

- Click on Next
- You are now presented with the Firewall Rules for inbound RPC communications screen

- Unless you have a real compelling reason not to Click on the box next to "Enable firewall rules for inbound RPC communications."

- Just like the Message says Click Upgrade to begin
- You may get the following Warning ( You may remember this warning when upgrading the FIM Synchronization Service in the past.)

- Read and verify acceptance of the warning by clicking on OK Information on Securing the Account can be located Here
- The Installation will now begin
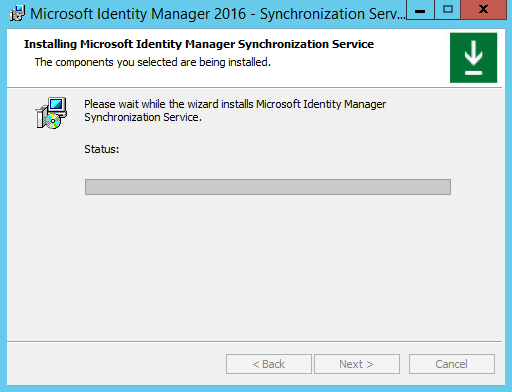
- You will see a status bar with occasional messages such as Copying new files.

- During an Upgrade you will see or should see rather another popup Warning 25008, This is a warning informing you that you are about to upgrade your Database.
- Once you acknowledge and accept the Warning click on Yes to continue.
- Installation will continue

- Completion of Installation ( Upgrade )

- Verify that the Upgrade completed successfully, From the Start Menu type Sync ( Screen Shot is of Server 2012 R2)
- if you had any shortcuts for the FIM Synchronization Service they will now be broken and should be removed.

- Click on the Synchronization Service Icon ( you may want to save to Start Menu and or Task Bar at this time as well)
- As the New Synchronization Service is opening up you will notice a difference in the start screen of the Sync Service

- Take a look at the New MIM 2016 Synchronization Service, Looks a lot like the FIM Synchronization Service

- Now check the Version number

- Don't Panic this is correct.
Please let me know if you have any issues or need additional information.
Questions? Comments? Love Identity Management so much you can't even stand it?