
This post has been republished via RSS; it originally appeared at: Core Infrastructure and Security Blog articles.
First published on MSDN on Apr 18, 2015Following up with the Previous Post "Portal Customization - Understanding Search Scopes" We will now look into the process of creating a custom Search Scope. For this posting we will Create a Search Scope for " All Politicians "
- From the Administration Page click on "Search Scopes"
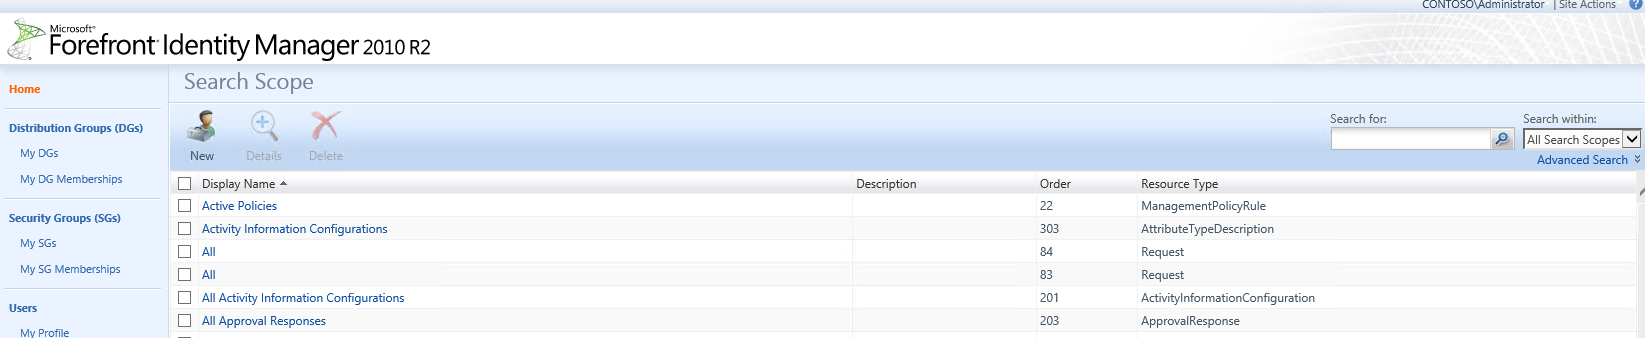
- Click on New

- On the General Tab Enter in information about the Search Scope you wish to Build, for this example we will enter the following:
- Display Name: All Contractors
- Description: "Used to predefine all User Resources that Have Employee Type set to All Politicians "
- Usage Keywords:
- BasicUI
- customizedGlobal
- Person
- MailEnabledSecurity
- Security
- Distribution
- Order: 2

- Click on Next
- On the Search Definition Tab, we need to enter information for the following Tab

- Attribute Searched:
- Display Name
- AccountName
- MailNickName
- Search Scope Filter: (Remember this needs to be an xPath Filter
- /Person[EmployeeType="Politician"]
Notice after you type in the XPath Statement if you click out of the Search Scope Filter Text Box the results should be displayed, if no results are displayed than either the XPath is typed incorrectly or no values are set with the needed information to match the XPath Query.

- Click on Next to Advance to the Results Tab Enter the desired information, for this blog we will enter the following
- Resource Type: Person
- NOTE: you must select the correct Resource by default it is just selects the first Resource type in the list
- Attribute: DisplayName;Domain;AccountName;JobTitle;OfficeLocation;OfficePhone;Email
- Redirecting URL: ~/IdentityManagement/aspx/users/AllPersons.aspx

- Click on Next to advance to the Localization Tab

- This Tab would allow for supported languages, for this post we will leave "English" as the default and continue to next page
- Click on Next to Advance to the Summary Tab

- Click on Submit to save the Search Scope.
- Open up a command prompt or PowerShell Console as an Administrator on the server that host the FIM Portal IIS Features and enter the following command
- IISRESET

- Once complete Lets test the new search scope.
- Back on the Main Home page of the FIM Portal For the Search Within Dropdown menu you should now see All Politicians

- Select All Politicians and than click on the Search icon just to the left of the Search Within Menu next to Search for text box
- You should now see the results of the XPath statement you created.

Additional Consideration when building your XPath Statement:
- For a single attribute query statement where the value is true or equal to the statement
- / Person [ EmployeeStatus = "Active" ]
- For a multiple attribute query statement that both queries need to be true (AND Statement)
- / Person [ EmployeeStatus = "Active" ][Department=”Test”]
- For a single attribute query statement where the value is not equal to the statement
- /Person[EmployeeStatus!="Active"]
- For a multiple attribute query statement that both queries need to met one is equal to the statement and the other is not equal to a value
- / Person [ EmployeeStatus = "Active" ][Department!=”Test”]
- For a multiple attribute query statement that one or the other queries need to be true ( OR Statement)
- / Person [ EmployeeStatus = "Active" or Department=”Test”]