
This post has been republished via RSS; it originally appeared at: Windows Blog.
Uno Platform is a free and open-source platform aiming to take WinUI applications built with C# and XAML everywhere. If you are not familiar with WinUI, it is the native UX platform for building Windows applications - you can learn more about it on the WinUI website. With Uno Platform you can bring your WinUI applications everywhere that WinUI does not natively run – Web/WebAssembly, Linux, macOS, iOS, and Android. Uno Platform is Open Source (Apache 2.0) and available on GitHub. This tutorial will walk through both setting up your Visual Studio environment for WinUI and Uno Platform development as well as building a simple same-codebase application which uses WinUI InfoBar control and runs on Windows, WebAssembly and Android. Upon completion of this 5-minute tutorial your sample application will look like this in both “light” and “dark” modes:

Prerequisites
If you have not prepared your dev environment for Uno Platform app development yet, the Setting up the Environment page in the Uno Platform docs will guide you through installing all the prerequisites.Tutorial: WinUI InfoBar running Cross-Platform
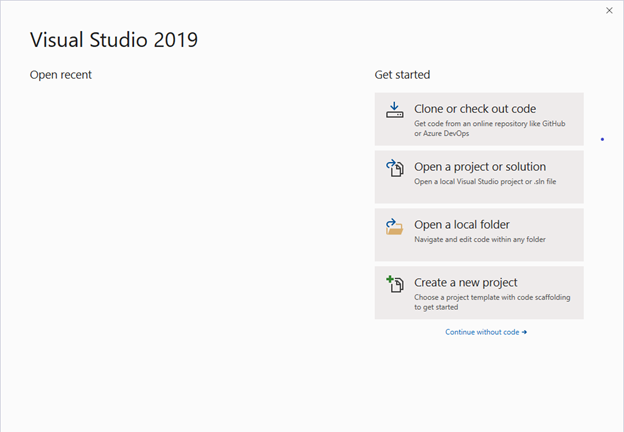
- Open Visual Studio and click on Create a new project.
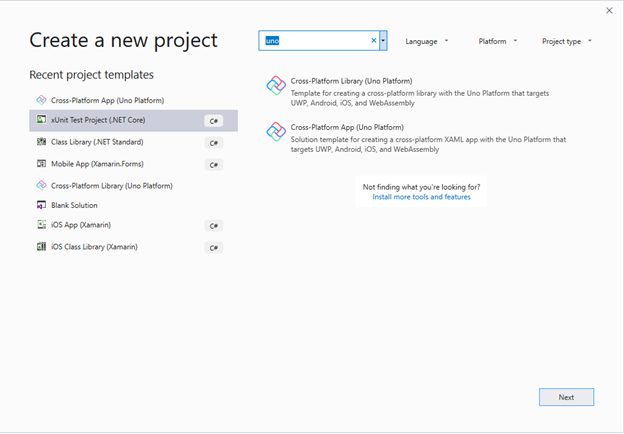
- Search for the Uno templates, select the Cross-Platform App (Uno Platform) then click Next.
- Name your app ‘UnoLovesWinUI’ then click Next.
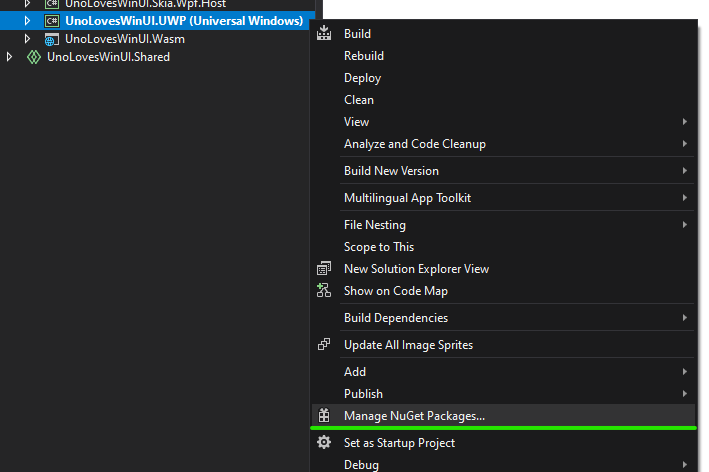
- Once the solution loads, expand the Platforms folder in Solution Explorer and right-click on the UWP project. From there, select Manage NuGet Packages…
- Go to ‘Browse’, search for `Microsoft.UI.Xaml` and install the latest stable version.
- Install the Uno Platform .NET new templates by opening a command line in any folder:
dotnet new -i Uno.ProjectTemplates.Dotnet
- Navigate to the folder of your choice, then type the following:
dotnet new unoapp-winui -o UnoLovesWinUI
- Open the solution in Visual Studio 2019 by double clicking on the UnoLovesWinUI.sln file
Note: To change the startup project from the Solution Explorer, right-click the desired project and choose "Set as Startup Project" from the context-sensitive menu that is displayed. You can also choose this menu item from the Project menu. So far so good - you have been in your favorite and familiar environment. So far, this is all pure Windows development. Now is the time to see the Uno Platform magic and run the same application on Web (WebAssembly) and Android.
10. Right-click the UnoLovesWinUI.Wasm project and chose “Set as the Startup Project” in Visual Studio Solution Explorer and then right-click Run 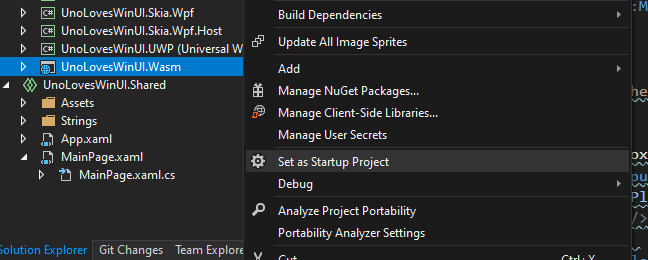
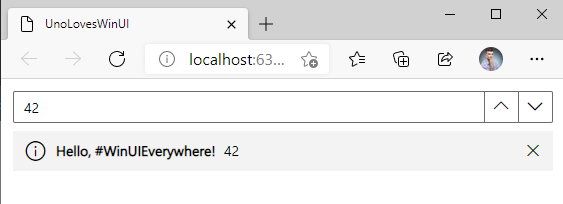 As you can see, your WinUI app is now running in a Web browser! The sample app above uses the WinUI InfoBar and NumberBox controls. It is really that easy to get your WinUI code running in the browser.
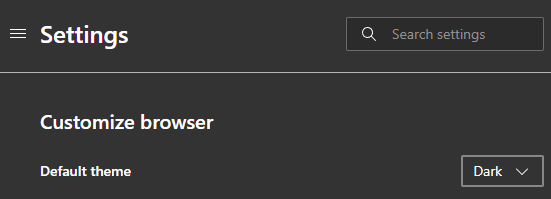
Tip: Try to switch your browser between the light and dark theme – you should see the application automatically switches theme too!
As you can see, your WinUI app is now running in a Web browser! The sample app above uses the WinUI InfoBar and NumberBox controls. It is really that easy to get your WinUI code running in the browser.
Tip: Try to switch your browser between the light and dark theme – you should see the application automatically switches theme too!
 11. Now let's see the app running on Android! Select UnoLovesWinUI.Android as the Startup Project and Run
 Just by changing the target platform, your WinUI app is now running on Android! The sample app above also simply uses the WinUI InfoBar and NumberBox controls. Once again, it really is that easy to get your WinUI app running on Android and other mobile operating systems.
Here is the final application, running on Windows, Web and Android!
Just by changing the target platform, your WinUI app is now running on Android! The sample app above also simply uses the WinUI InfoBar and NumberBox controls. Once again, it really is that easy to get your WinUI app running on Android and other mobile operating systems.
Here is the final application, running on Windows, Web and Android!
 Next Steps
You have just created a cross-platform application running on Windows, Android and WebAssembly with WinUI and Uno Platform. If you are interested in running the very same application on additional platforms Uno Platform supports, such as macOS, iOS or Linux, just make sure you have appropriate prerequisites installed.
For any help with Uno Platform please visit Uno Platform team discord– www.platform.uno/discord #uno-platform channel.
Uno Platform Team
Next Steps
You have just created a cross-platform application running on Windows, Android and WebAssembly with WinUI and Uno Platform. If you are interested in running the very same application on additional platforms Uno Platform supports, such as macOS, iOS or Linux, just make sure you have appropriate prerequisites installed.
For any help with Uno Platform please visit Uno Platform team discord– www.platform.uno/discord #uno-platform channel.
Uno Platform Team