This post has been republished via RSS; it originally appeared at: Microsoft Sensors Blog articles.
Last Updated: 12/07/2018
This blog will guide you on how to leverage SensorExplorer as part of system upgrade testing. This section will use the orientation test for accelerometer as an example and step-by-step show you how to test your sensors after upgrade.
Prerequisites
- Download SensorExplorer from the Microsoft Store. (Hint: From the Microsoft Store, search "SensorExplorer" or follow this link https://aka.ms/sensorexplorer)
- Ensure auto-rotation is off for your device. (Hint: Search “Rotation Lock” in Settings and turn it on to disable auto-rotation).
- Place your device on a level surface, and you are ready to begin the test!
Figure 1: PC is on a level (flat) desk to start testing
Test Flow
Upgrade testing requires establishing a baseline, results from running certain sensor tests, on a current OS and validating the baseline in the upgraded OS. SensorExplorer can play a vital role in ensuring the accuracy and simplifying the process of upgrade testing.
Test Cases
Selecting a test in SensorExplorer
1. Launch SensorExplorer
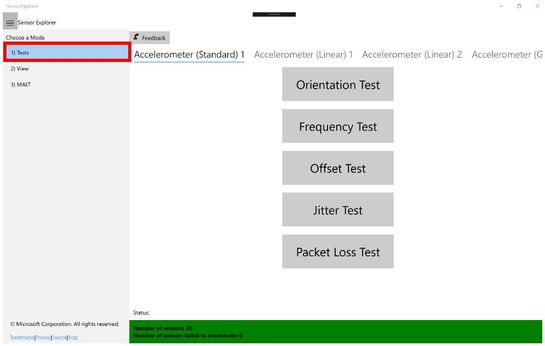
2. Select Test mode
3. Select the sensor to test
Step-by-step guide on how to run through the accelerometer orientation test
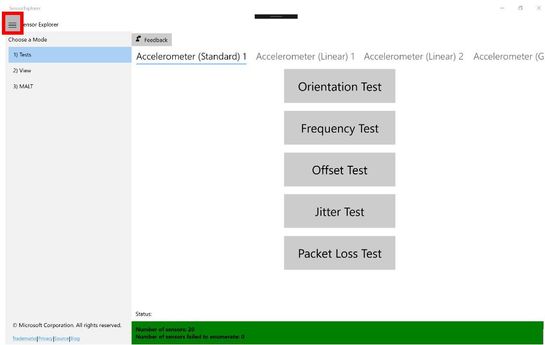
1. Click the icon (highlighted in the screen shot below as a red box) to hide the menu bar during the test.
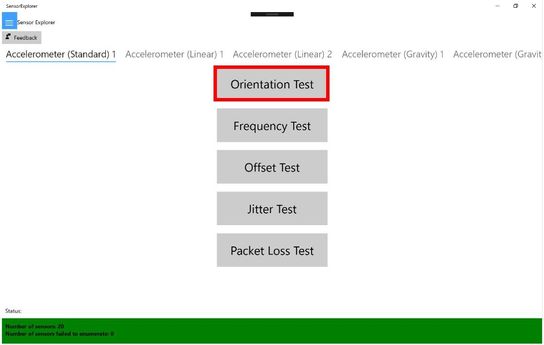
2. Click the “Orientation Test” button to select the test type.
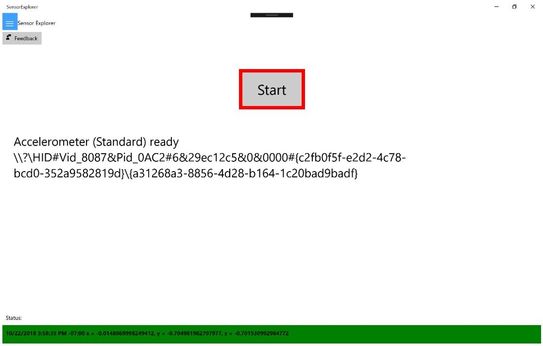
3. Click the "Start" button to begin the test.
4. Follow the test instructions on the screen. It will ask you to orient your device so that the arrow on the screen is pointing down toward the ground.
(1). If the arrow points upward,
(2). If the arrow points downward,
(3). If the arrow points to the left,
(4). If the arrow points to the right,
5. For each test, you have 10 seconds to complete the task.
6. There is a total of 8 tests. After you have successfully completed all of them, a success message will show.
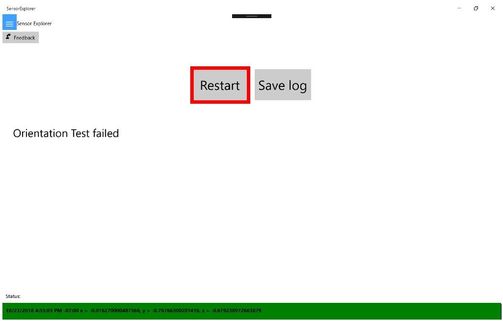
If a failure is detected in any round of the test, a failure message will show.
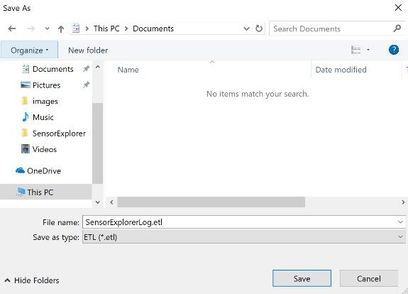
You may click the “Save log” button to save an .etl file containing all the test data.
You may choose where to save the log file.
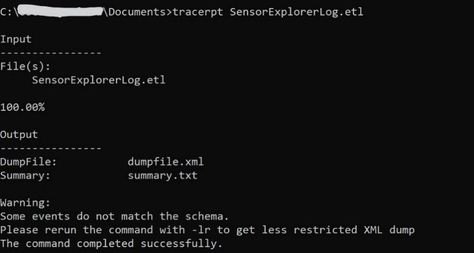
To view the .etl file, open cmd and navigate to the directory that contains your .etl file. Run “tracerpt SensorExplorerLog.etl” (more information on tracerpt).
This command will generate two output files: dumpfile.xml and summary.txt. You can open dumpfile.xml to view the sensor data for each test case.
For example, here is a snippet of the log saved for a failed accelerometer orientation test.
7. Click the “Restart” button to go back to the main menu to start another sensor test.
*Note: The menu bar is disabled during the test and will be enabled once the test finishes.
Types of sensors and tests available in SensorExplorer
You can run other sensor tests in a similar way as the accelerometer orientation test.
The table below summarizes the types of sensors SensorExplorer supports and the types of tests available for each sensor.
|
Sensor Type |
Available Tests |
|
Accelerometer (Standard) |
1. Orientation Test 2. Frequency Test 3. Offset Test 4. Jitter Test 5. Packet Loss Test |
|
Accelerometer (Linear) |
Tests will be added in the future |
|
Accelerometer (Gravity) |
Tests will be added in the future |
|
Activity Sensor |
Tests will be added in the future |
|
Altimeter |
Tests will be added in the future |
|
Barometer |
Tests will be added in the future |
|
Compass |
Tests will be added in the future |
|
Gyrometer |
1. Frequency Test 2. Offset Test 3. Jitter Test 4. Packet Loss Test |
|
Inclinometer |
1. Orientation Test |
|
Light Sensor |
1. Frequency Test 2. Offset Test 3. Jitter Test 4. Packet Loss Test |
|
Magnetometer |
1. Frequency Test 2. Packet Loss Test |
|
Orientation Sensor (Absolute) |
1. Orientation Test 2. Frequency Test 3. Offset Test 4. Jitter Test 5. Packet Loss Test 6. Drift Test |
|
Orientation Sensor (Geomagnetic) |
Tests will be added in the future |
|
Orientation Sensor (Relative) |
Tests will be added in the future |
|
Pedometer |
Tests will be added in the future |
|
Proximity Sensor |
Tests will be added in the future |
|
Simple Orientation Sensor |
Tests will be added in the future |
Related Topics
If you want to find out more information on orientation and reference frame, please refer to the Device Reference Frame section found in the whitepaper at https://msdn.microsoft.com/en-us/library/windows/hardware/dn642102(v=vs.85).aspx.


