This post has been republished via RSS; it originally appeared at: New blog articles in Microsoft Tech Community.
Scenario:
You want to get an alert whenever there are events such as creation of new blob or modification of existing blobs in the storage account.
Prerequisites:
- Azure Storage General Purpose v2(GPv2) or ADLS Gen 2 account
Action:
Azure Storage events allow applications to react to events, such as the creation and deletion of blobs. It does so without the need for complicated code or expensive and inefficient polling services. You can make use of Azure Logic apps which helps you to automate the process and provide an alert if any modification is done on the existing blobs or if a new blob is created.
You can follow the below steps to create an Azure Logic App and configure the alerts for creation and modification of blobs on a specific container:
Step 1:
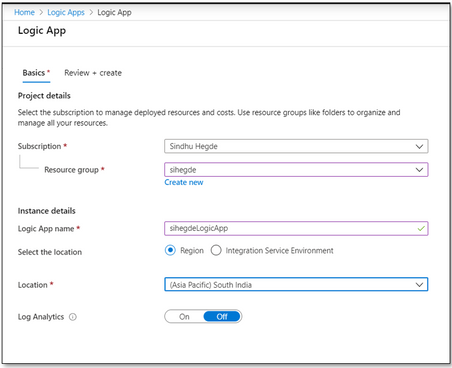
Create a new Logic App using Azure Portal:
Step 2:
Once the Logic app is created, please go to ‘Logic app designer’ and select ‘Blank Logic App’.
Step 3:
In the ‘Triggers’ section, search for ‘Azure Blob Storage’, you will be seeing a trigger named ‘When a blob is added or modified’. Select it.
Step 4:
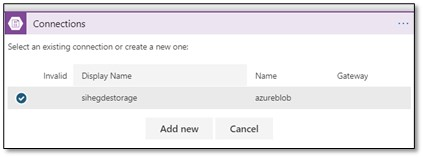
Select the storage account on which you want to monitor the events as shown below:
Step 5:
Select the container name you would like to monitor and provide the Interval and frequency as per your requirement and click on Save.
Step 6:
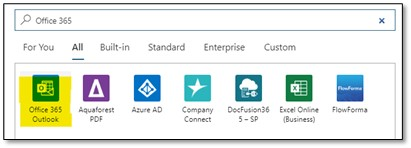
Once this Trigger is added, click on ‘+ New Step’. It opens a blade where you can choose an action. Search for ‘Office 365 Outlook’ and select the option.
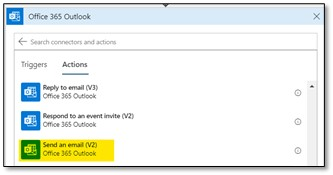
In ‘Office 365 Outlook’, you have an option to Send an email (V2).
Step 7:
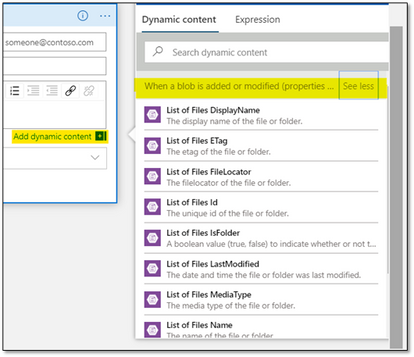
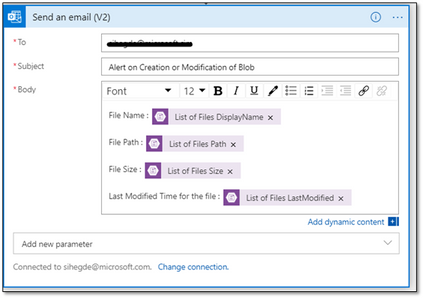
This opens a window where you can configure the email content and also the dynamic content as shown below:
Add the configuration as per your requirement and Save it.
Step 8:
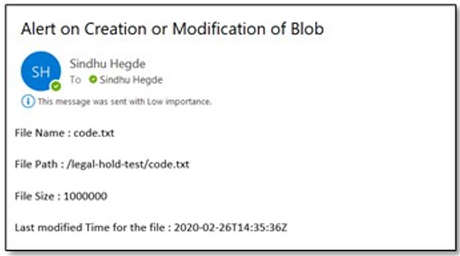
Once the configuration is done, I uploaded a file in the storage account and was able to get an email that contains the information of the file uploaded as shown below:
Hope this helps!

