This post has been republished via RSS; it originally appeared at: Core Infrastructure and Security Blog articles.
First published on MSDN on Aug 26, 2015As you may be aware, the new version of identity – Microsoft Identity Manager 2016 – has been released. While the in-place upgrade of the sync engine from FIM 2010 R2 to MIM 2016 is covered in great detail here , I would like to take some time and step through a brand new fresh install of the MIM 2016 sync service.
The environment I’m using is Windows Server 2012 with SQL Server 2012 SP1. The prerequisites (.Net, SQL Native Client if SQL is off-box, etc.) remain largely unchanged from FIM 2010.
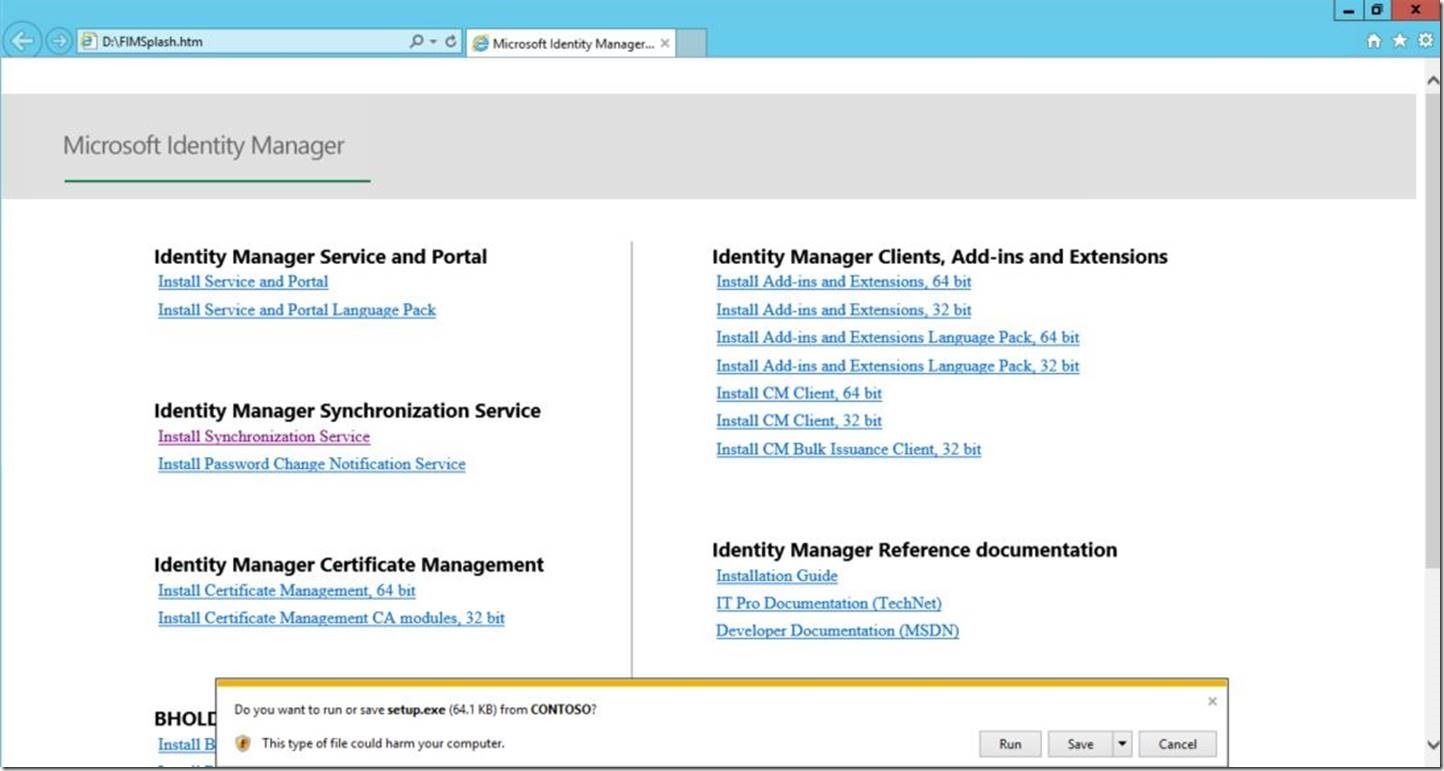
To begin, navigate to the installation media and double-click on “FIMSPlash” to run it. This will open the MIM installation menu:

Under “Identity Manager Synchronization Service”, click on “Install Synchronization Service”, then click “Run”:
This will launch the “Microsoft Identity Manager 2016 – Synchronization Service” installation wizard. Click “Next” to continue.

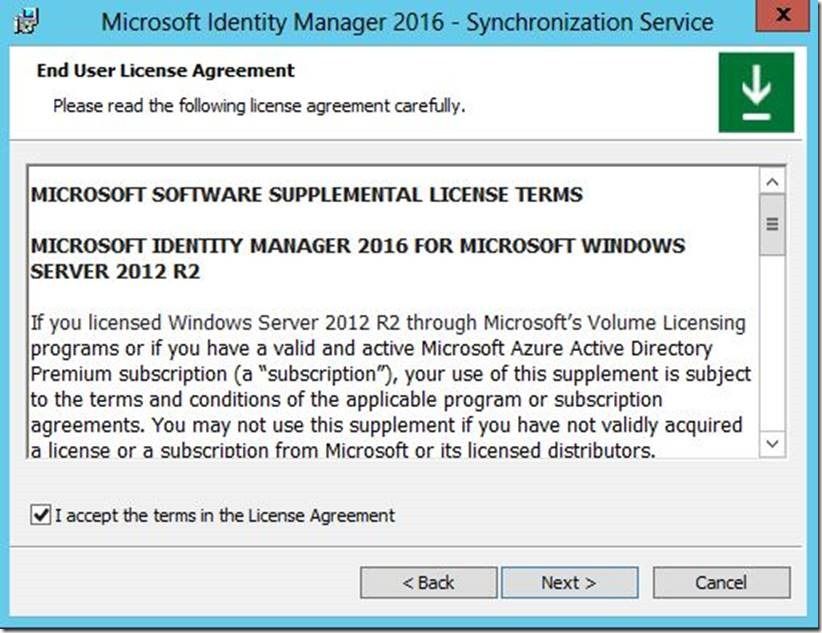
Read and accept the EULA, then click “Next” to continue.
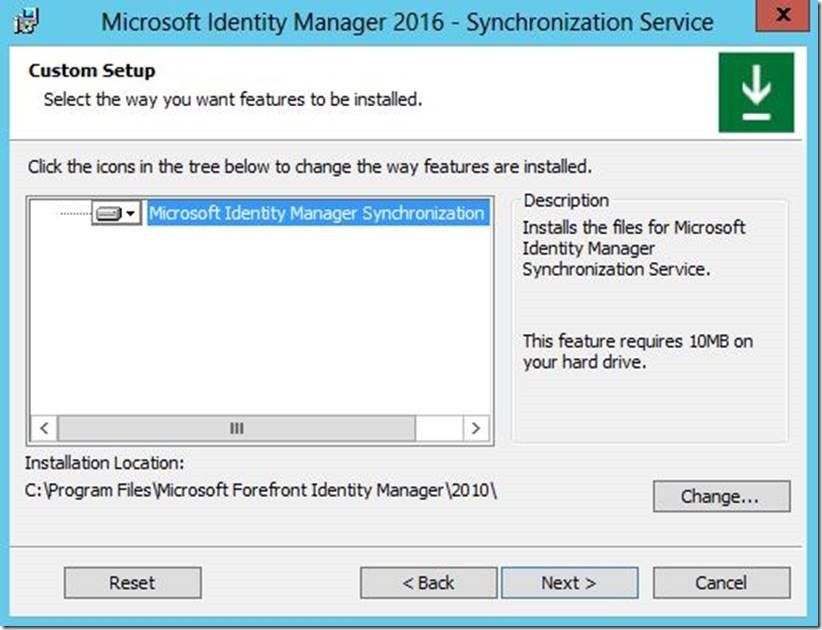
Change the “Installation Location” (if applicable), then click “Next”
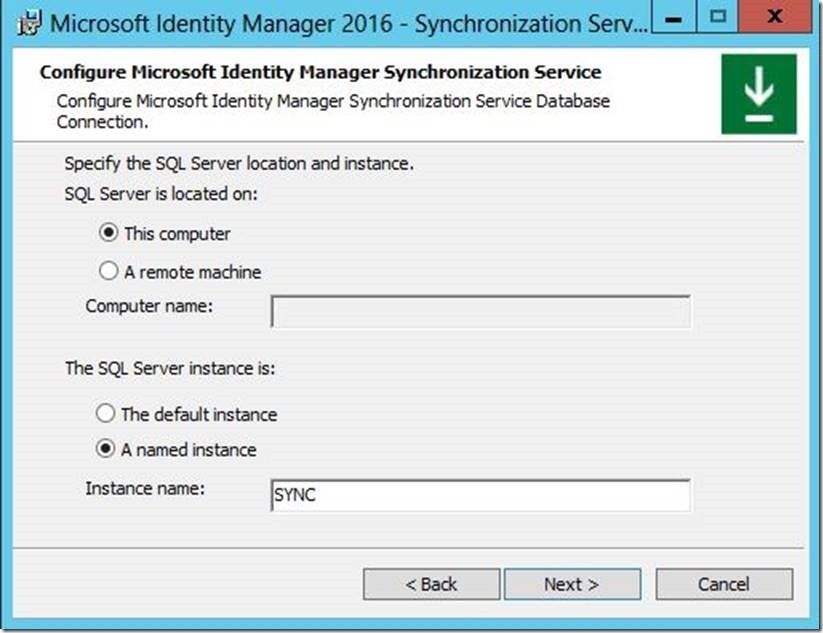
If SQL is located off-box, select “A remote machine” and enter the name of the Microsoft SQL server. If SQL is located on the same machine (as in this scenario), select “This computer”.
If a named SQL instance is used (as is Best Practice ), select “A named instance” and enter the instance name. Click “Next” to continue.
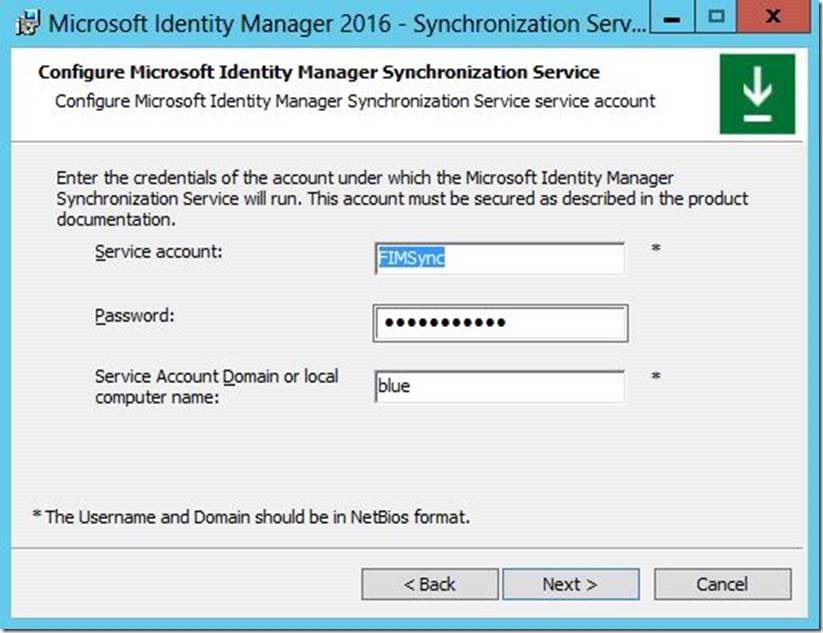
Enter the “Service account” which sync will run as, as well as the “Password” and “Domain”, then click “Next”
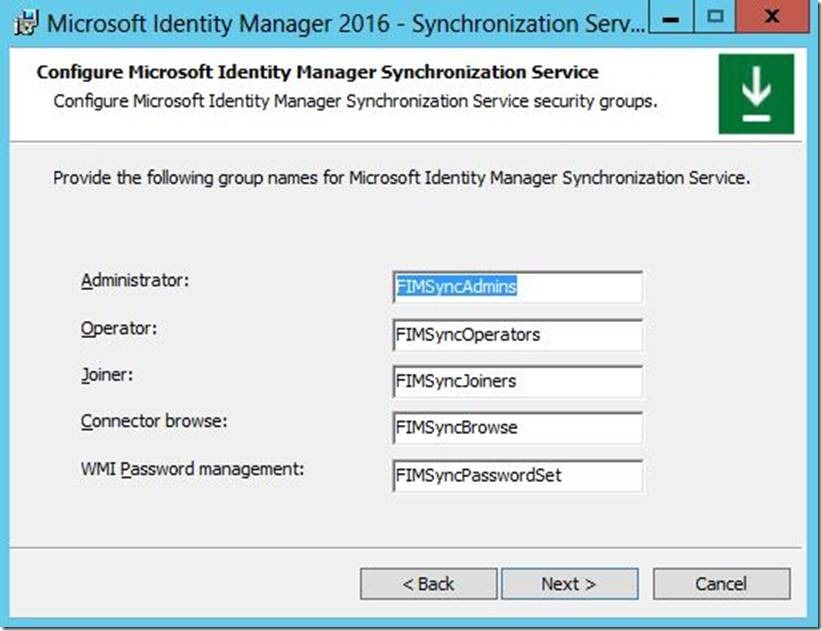
As with FIM 2010, these may be left default. Or, if you prefer, you may create and specify domain groups here. Click “Next” to continue.
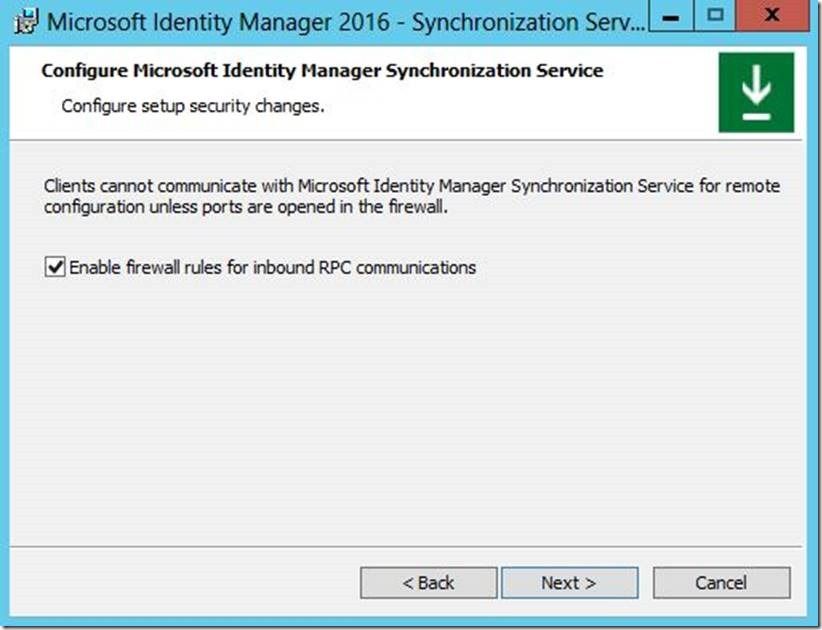
Check the box to “Enable firewall rules for inbound RPC communications”, then click “Next”.
Click “Install”

As with FIM 2010, you may receive the following message. If so, click “OK” to continue as we will come back to this later.

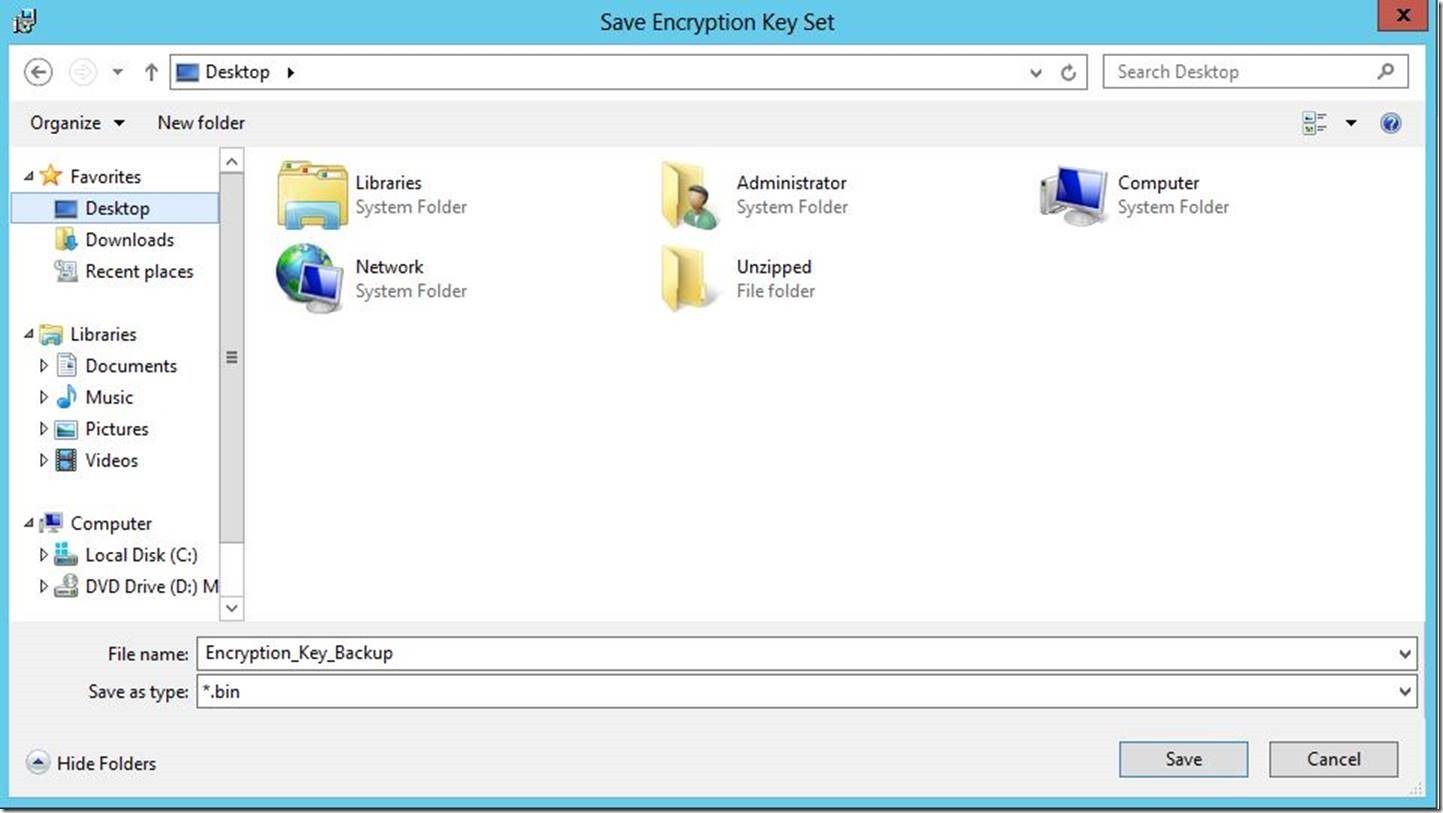
At this point you will be prompted to back up the database encryption key. Click “OK”

Select a location and enter a name for this key file, then click “Save”
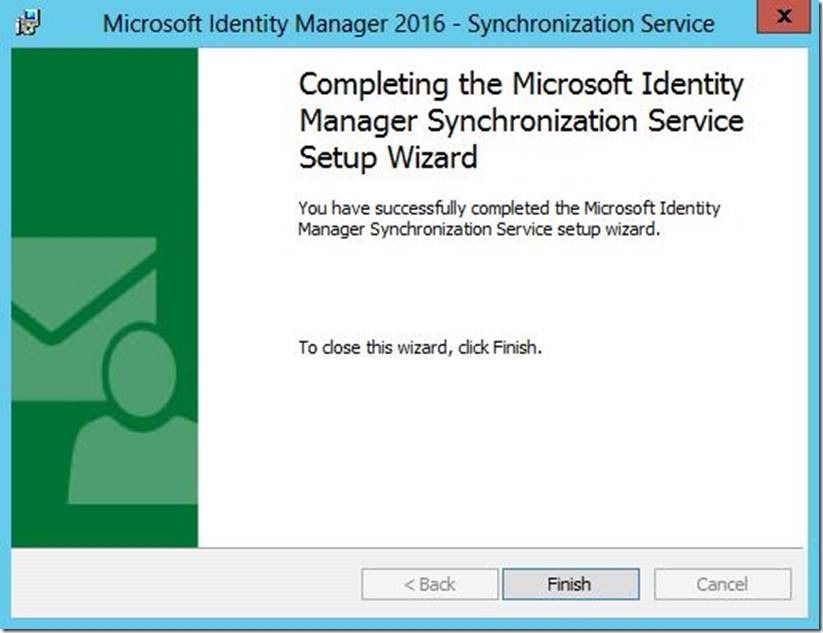
Click “Finish” to complete setup.
You may now open your MIM 2016 Sync Service.

To verify the version, click “Help” and “About” .

While you may notice it says “Microsoft Forefront Identity Manager 2010 R2”, you may disregard this. Notice also that the version number is 4.3.1935.0, whereas FIM 2010 R2 is a 4.1.xxxx version. For instructions on installing the Microsoft Identity Manager 2016 Service and Portal”, please see the follow-up post here .
Questions? Comments? Love FIM so much you can’t even stand it?
>WE WANT TO HEAR FROM YOU<
