
This post has been republished via RSS; it originally appeared at: Microsoft Tech Community - Latest Blogs - .
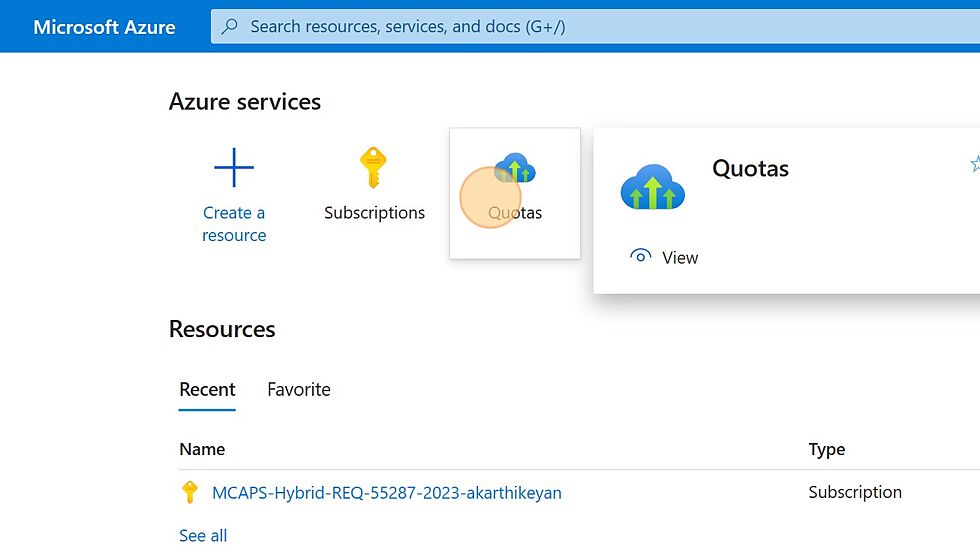
1. Navigate to https://portal.azure.com/#home
2. Click "Quotas"
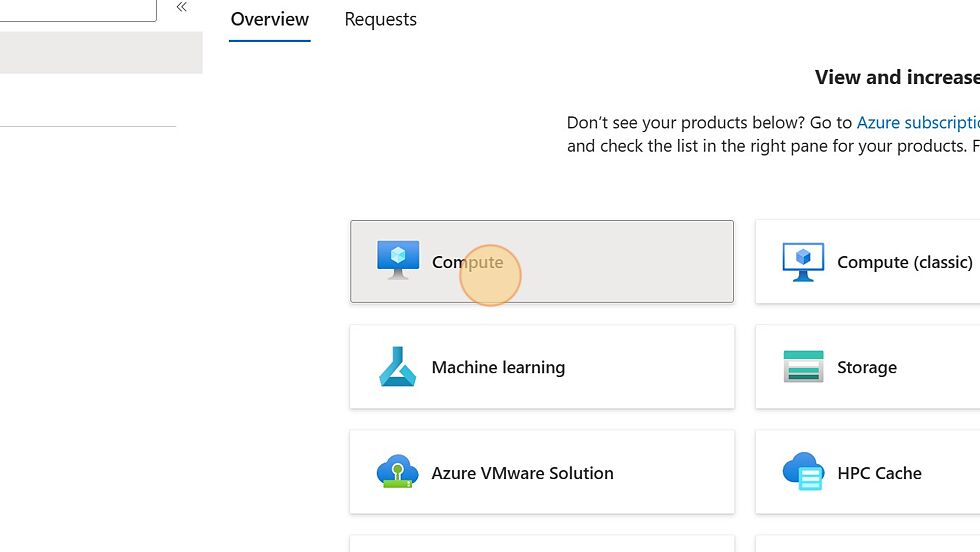
3. Select "Compute"
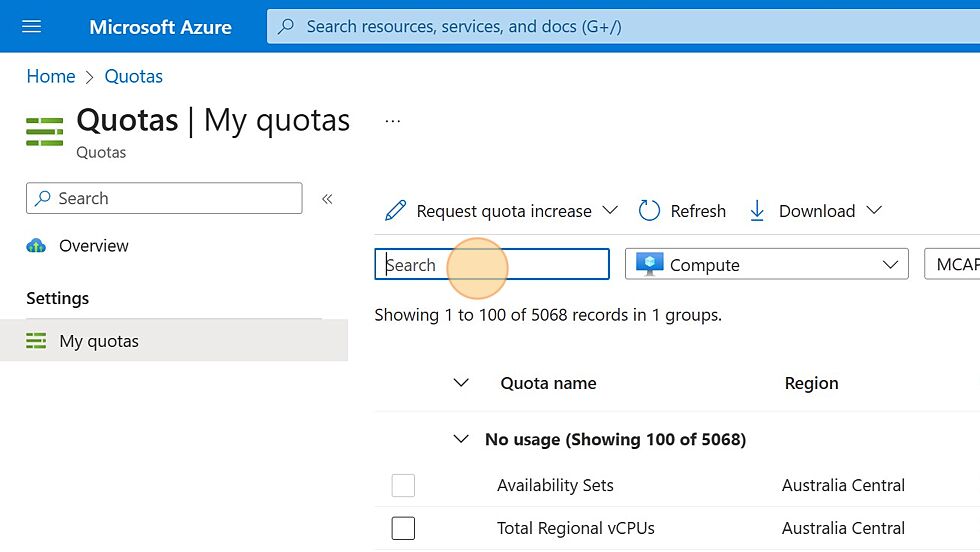
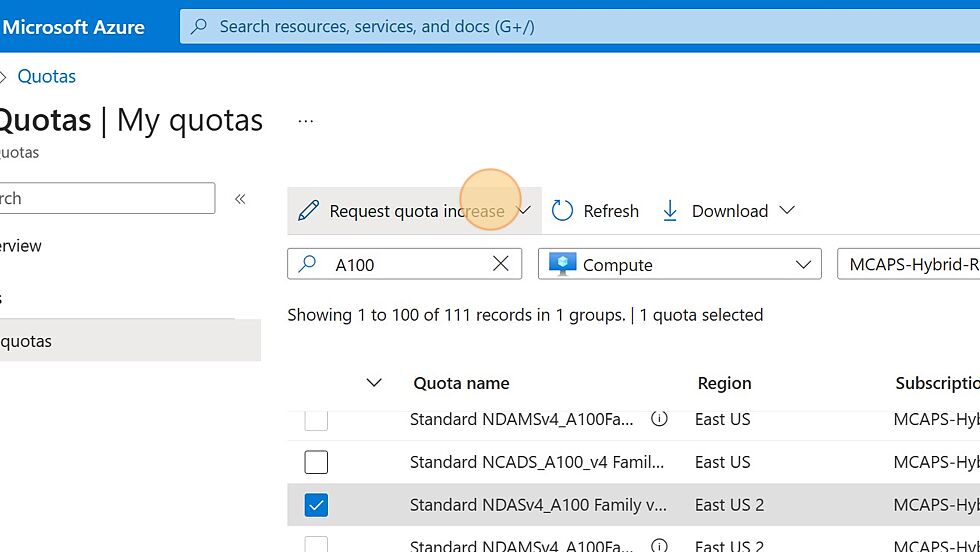
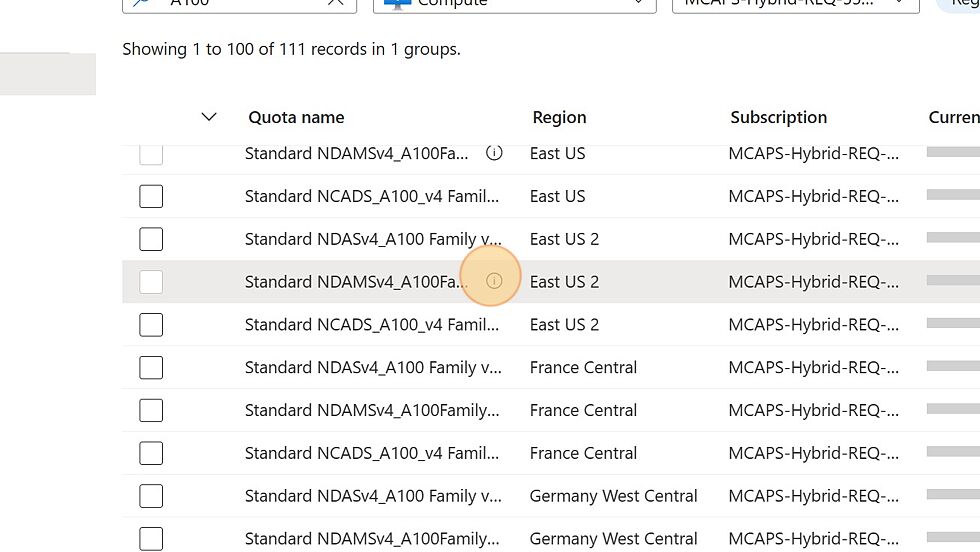
4. Use the Search field to filter through the list. Here, we're looking for A100 VMs.
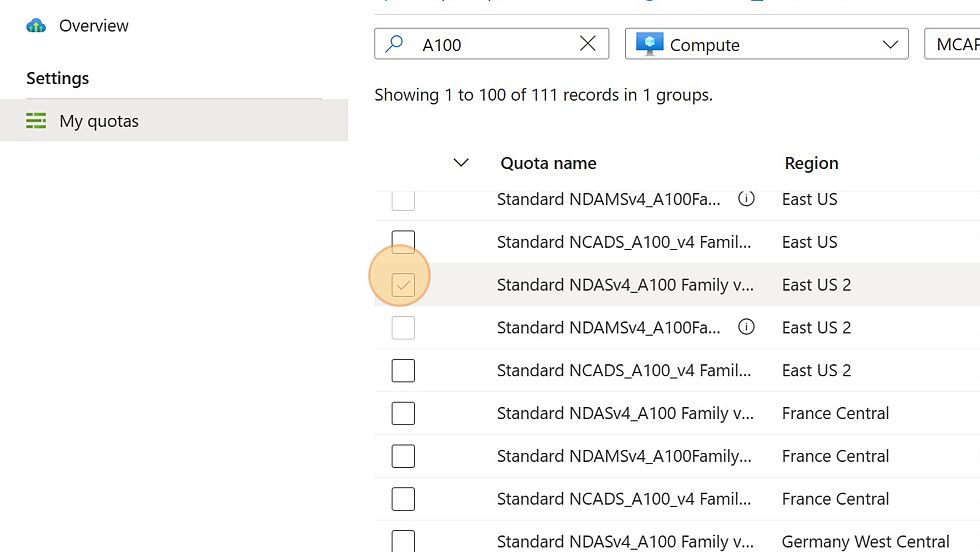
5. We will request an increase for NDASv4_A100 vCPUs. For the regular process, click the checkbox to select the row.
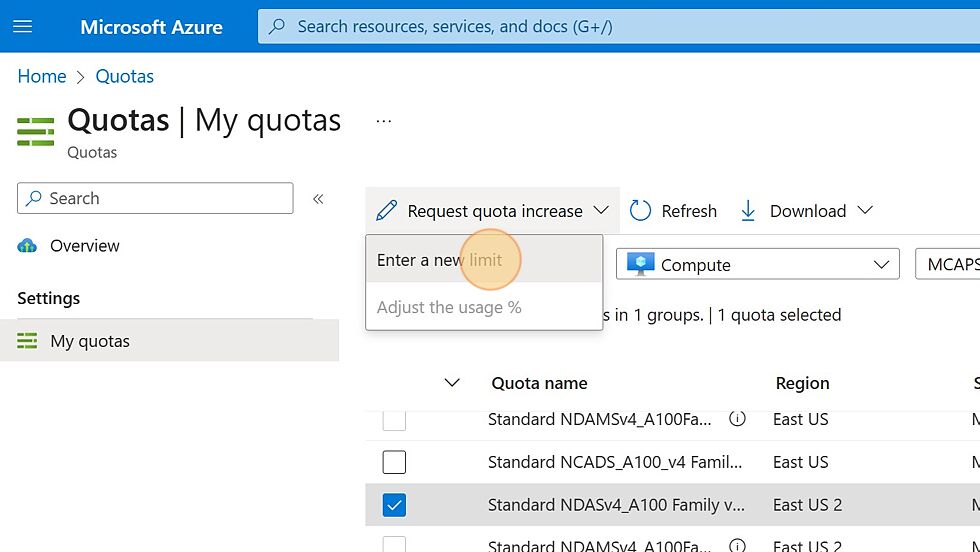
6. Click "Request quota increase"
7. Click "Enter a new limit"
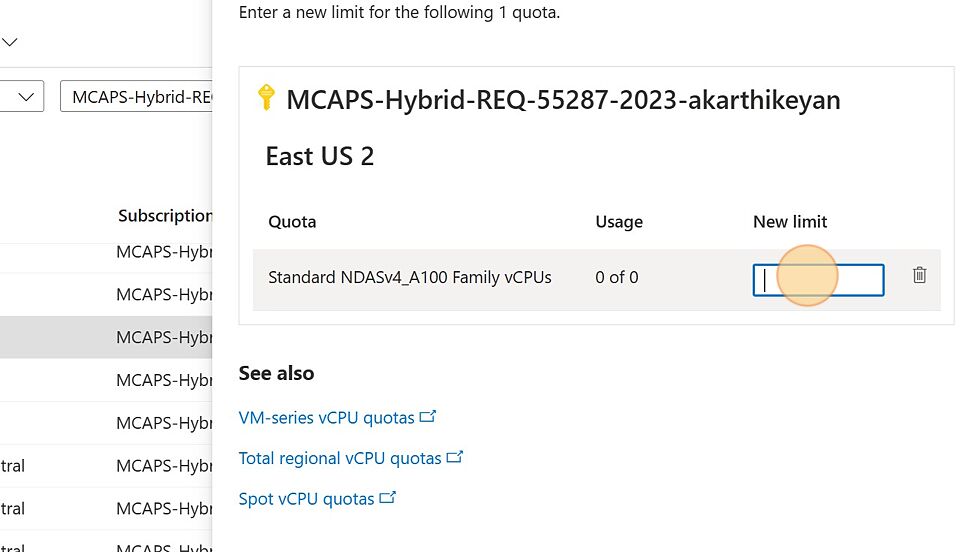
8. Enter in the requested New Limit for this Quota.
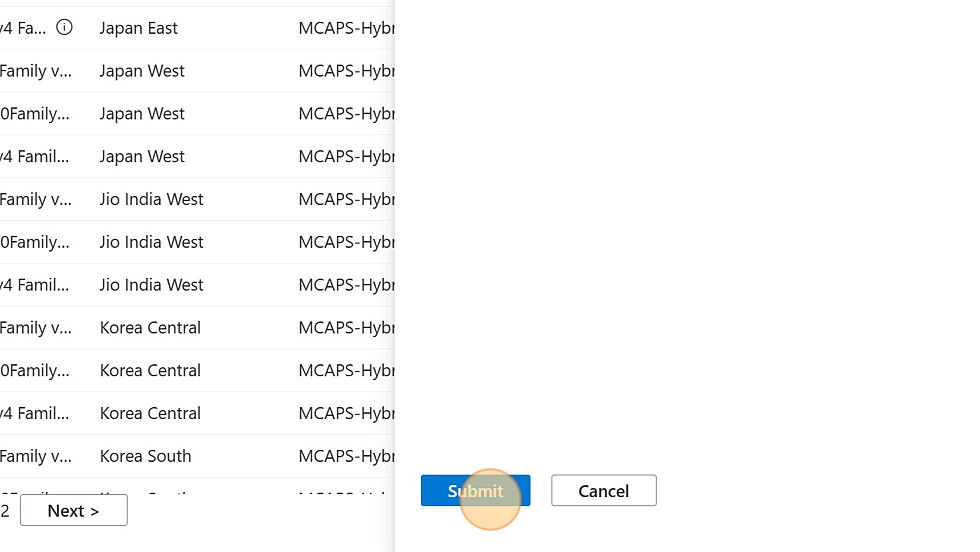
9. Click "Submit"
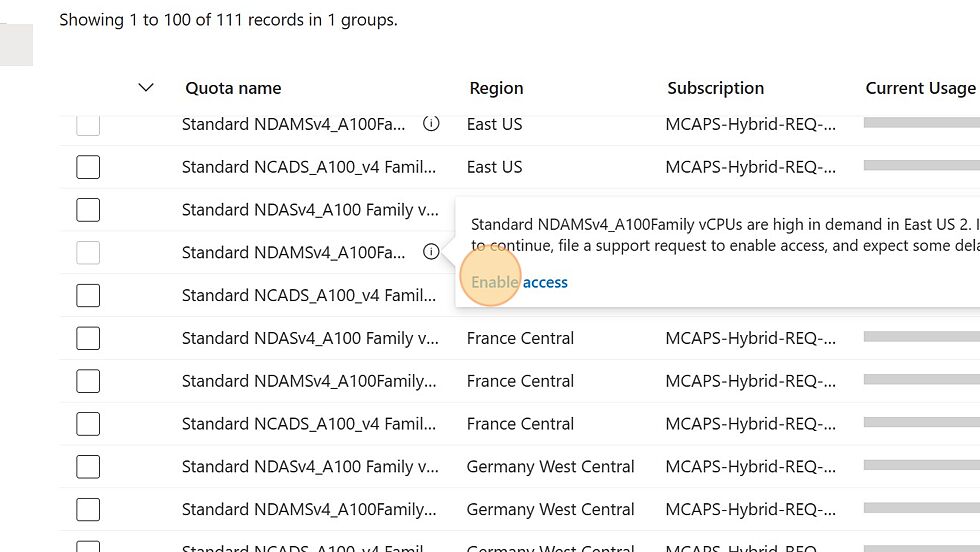
10. Some rows will have a grayed out checkbox due to high demand of those resources. For these, we will need to submit a support ticket to get the quota increase approved.
11. Hover over the "i" info icon and then click "Enable access"
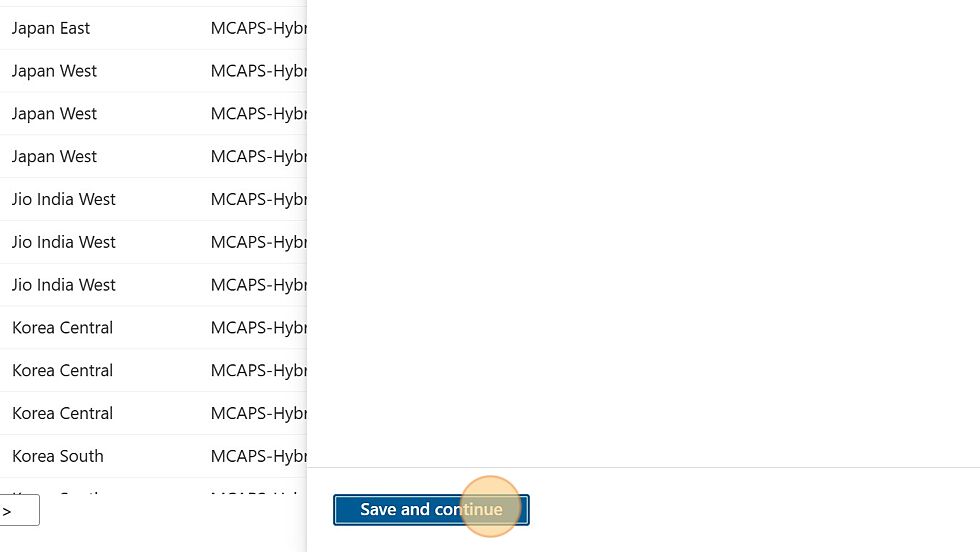
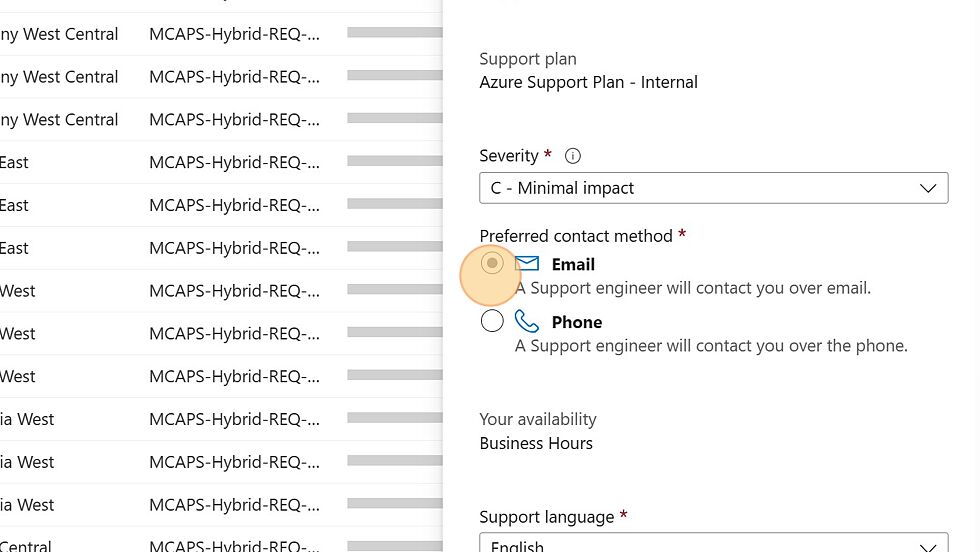
12. Fill in the requested fields

13. Click "Save and continue"
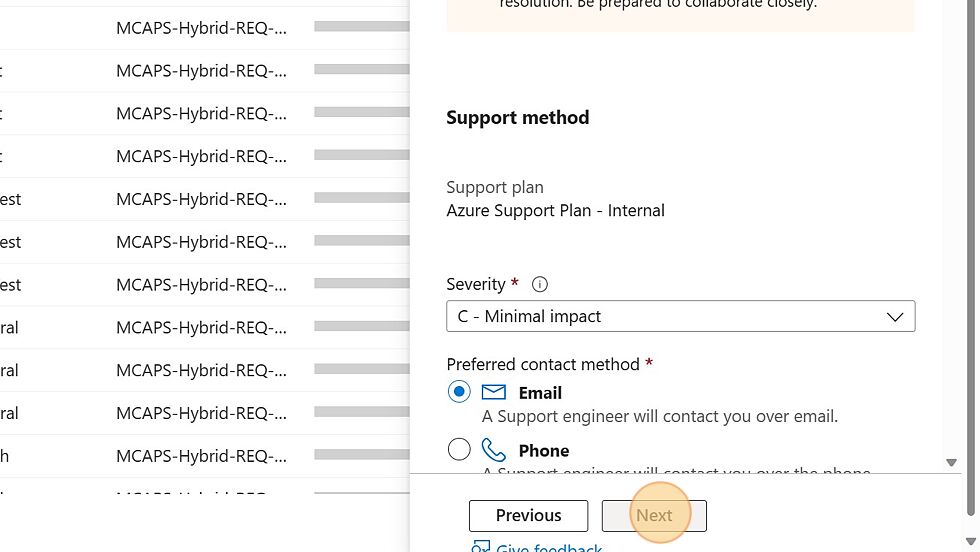
14. Fill in the required fields for the support ticket with contact information
15. Click "Next"
16. Click "Create" to create the support ticket.
