Step-by-Step Guide: Creating an Azure Resource Group on Azure Portal

This post has been republished via RSS; it originally appeared at: Microsoft Tech Community - Latest Blogs - .


This article outlines the simple steps to create an Azure Resource Group.


1. Navigate to https://portal.azure.com/

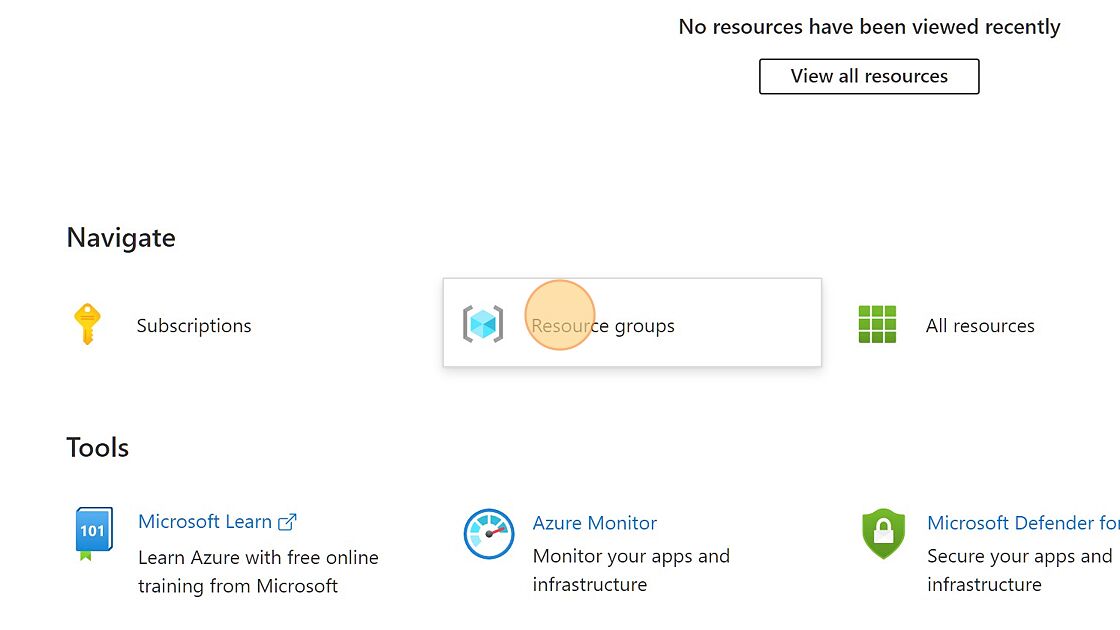
2. Click "Resource groups"

Screenshot of: Click "Resource groups"

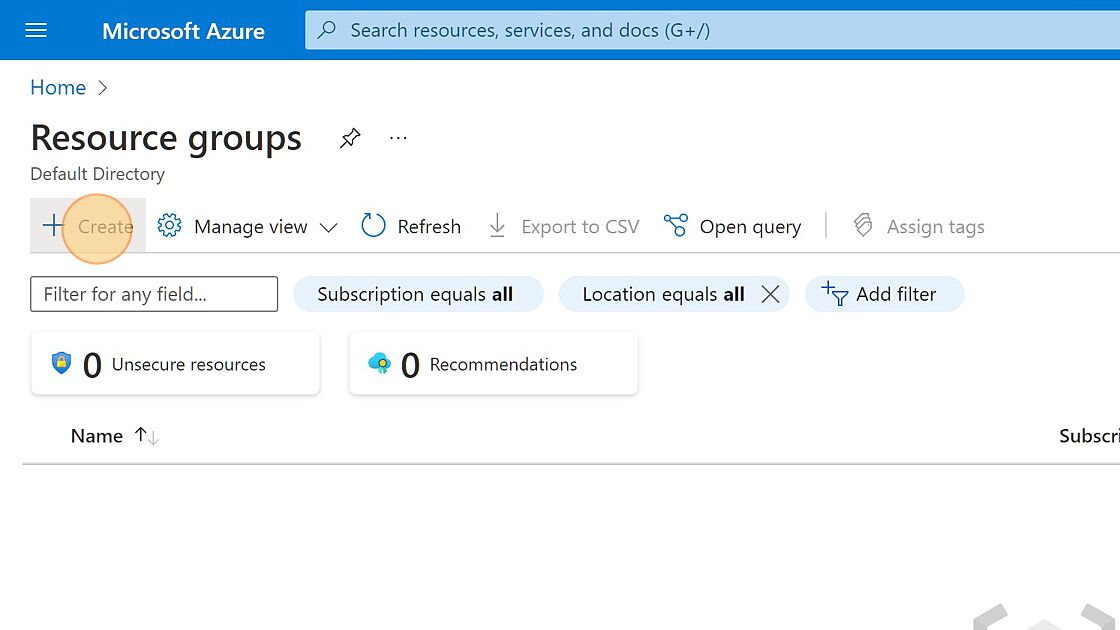
3. Click "+ Create" to create a new Resource Group.

Screenshot of: Click "+ Create" to create a new Resource Group.

4. Select the Subscription from the drop down menu

Screenshot of: Select the Subscription from the drop down menu

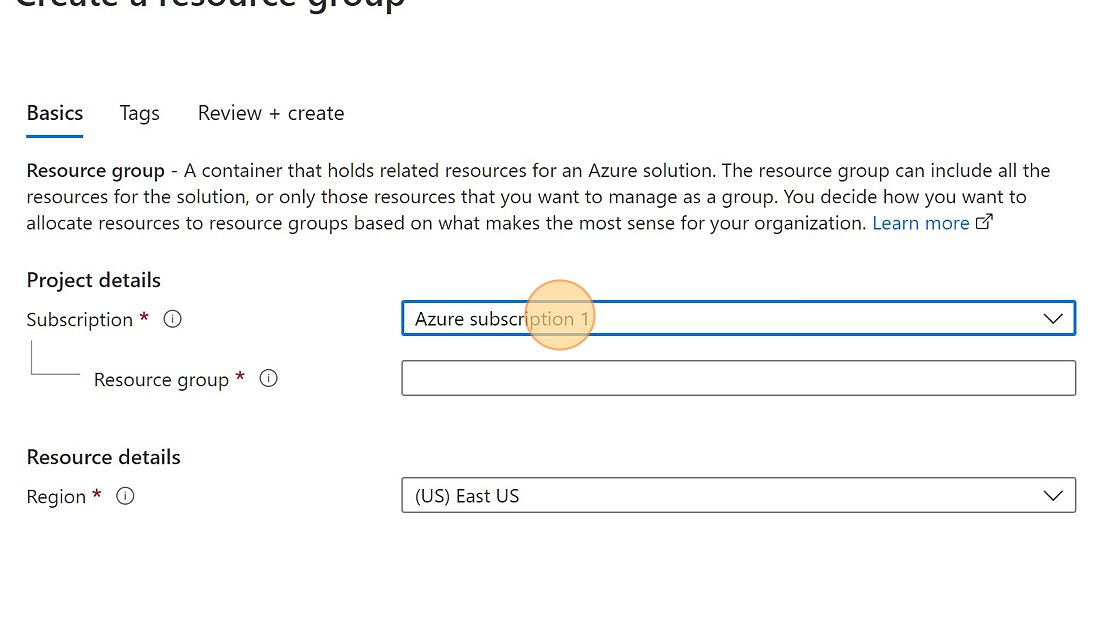
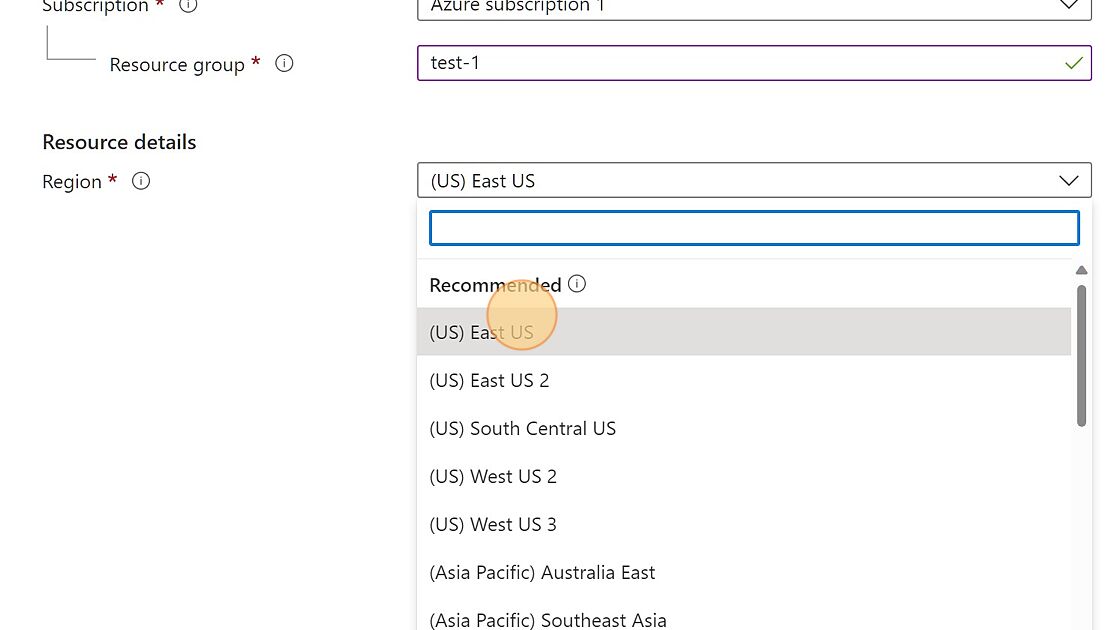
5. Name the new Resource group

Screenshot of: Name the new Resource group

6. Select the Region. Even though you choose a region for your resource group, the resources that you put into it don't all have to be in that region!

Screenshot of: Select the Region

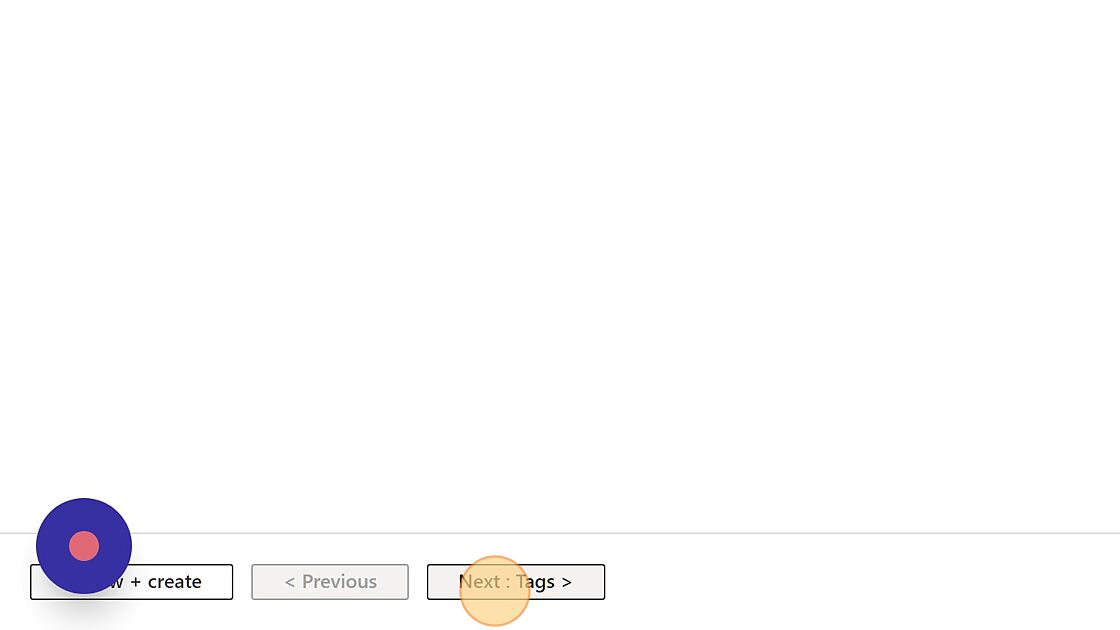
7. Click "Next : Tags >"

Screenshot of: Click "Next : Tags >"

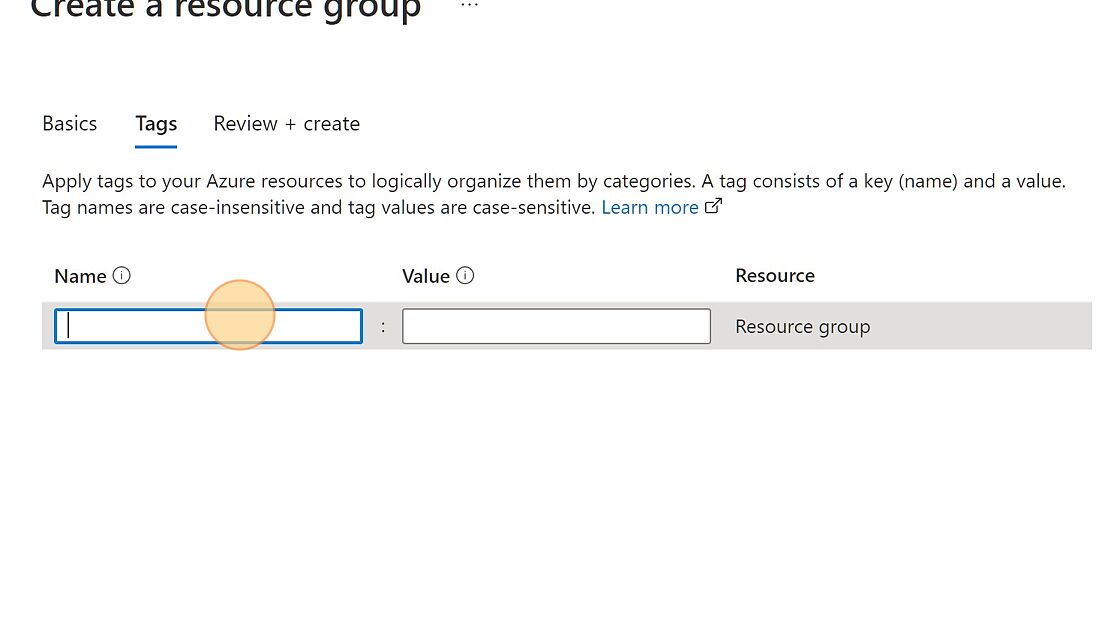
8. Add Tags (optional)

Screenshot of: Add Tags (optional)

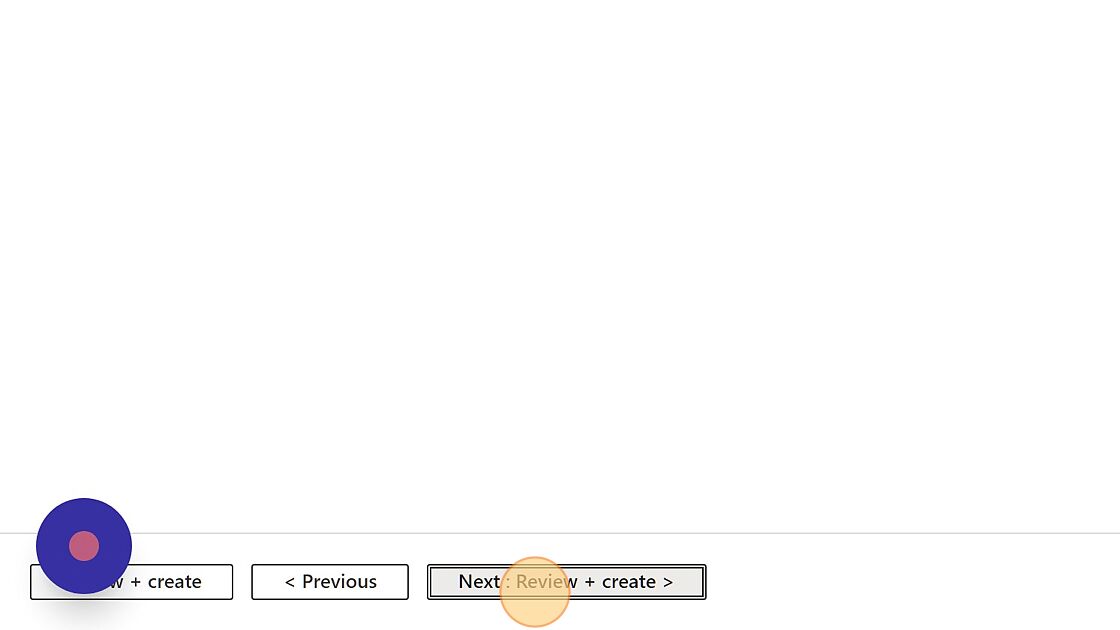
9. Click "Next: Review + create >"

Screenshot of: Click "Next: Review + create >"

10. Click Create.

Screenshot of: Click Create.


Leave a Reply

Your email address will not be published. Required fields are marked *

*

This site uses Akismet to reduce spam. Learn how your comment data is processed.