This post has been republished via RSS; it originally appeared at: Core Infrastructure and Security Blog articles.
First published on TECHNET on Mar 22, 2017Hi everyone, Paul here again. This time it's a PSA (Public Service Announcement) - did you know you can get $300 / £240 (at time of writing exchange rates) free Azure credit? 3 months free Pluralsight subscription? .... and more!
I highly recommend getting yourself familiar with Azure; it's a real investment in your own future. I think cloud skills on your C.V. are a great trump card, and are fast becoming requirements for many roles.
Visual Studio Dev Essentials is free and gives you all you need to get developing for any platform, including free azure credit , free training, free SQL developer edition, loads of stuff.
You need a Microsoft Account e.g. outlook.com/Hotmail/Live ID etc. to sign up. If you've already got one then skip to here .
In case you don't have one or need a new one I'll go through the signup process for a new outlook.com account first.
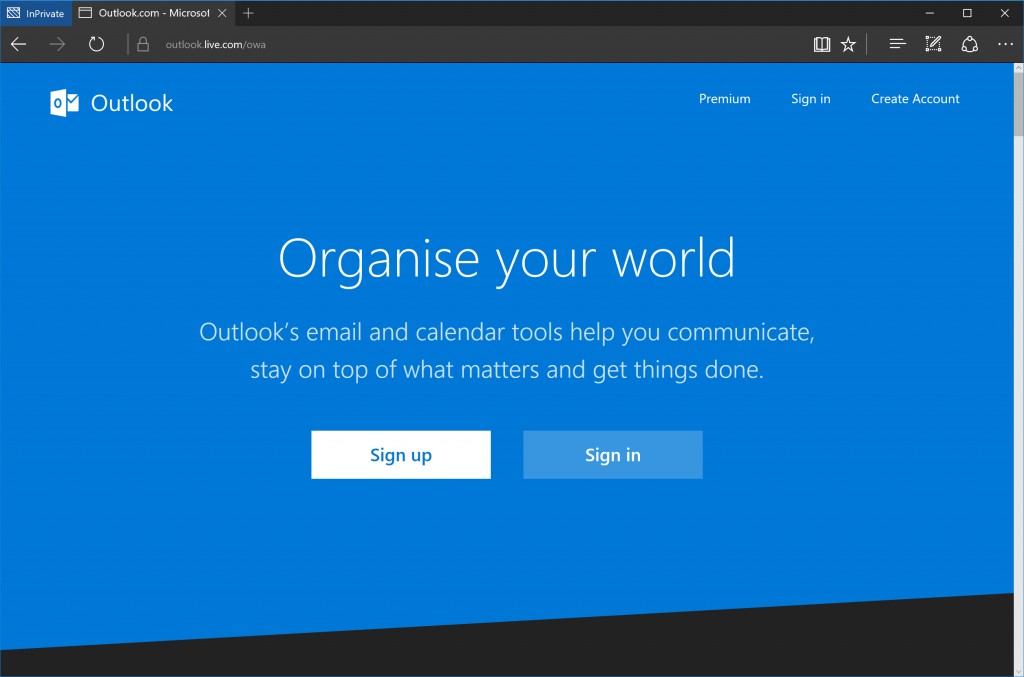
Go to https://www.outlook.com/ and click "Sign up"
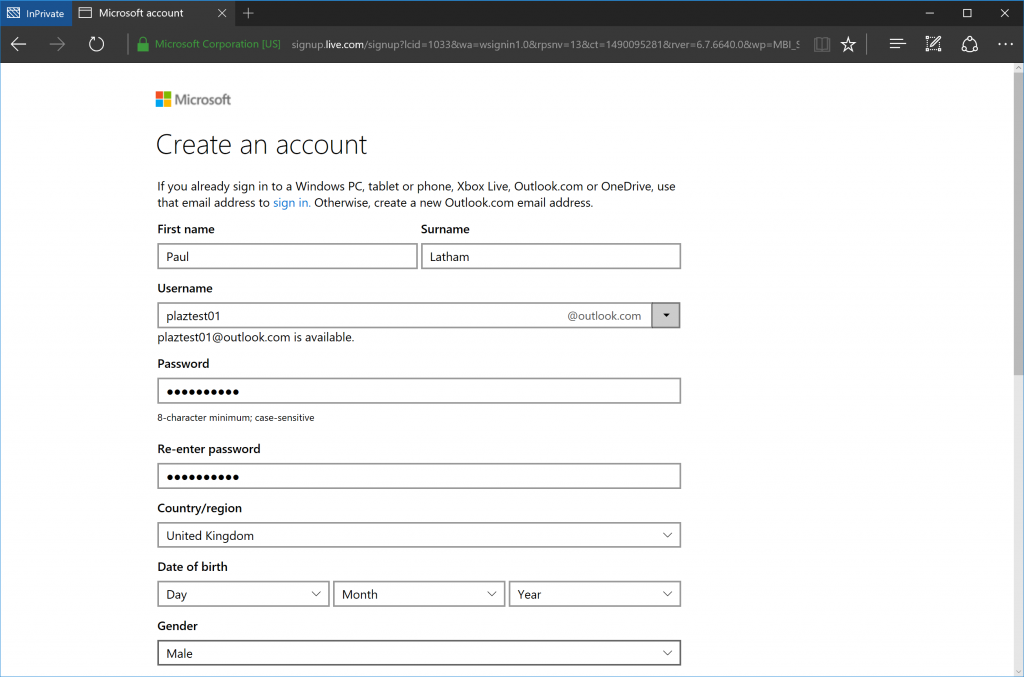
On the next screen, choose an email address (you can also choose to have a Hotmail.com address from the drop down on the right) and enter the rest of your details on the form and then click the "Create Account" button at the bottom:
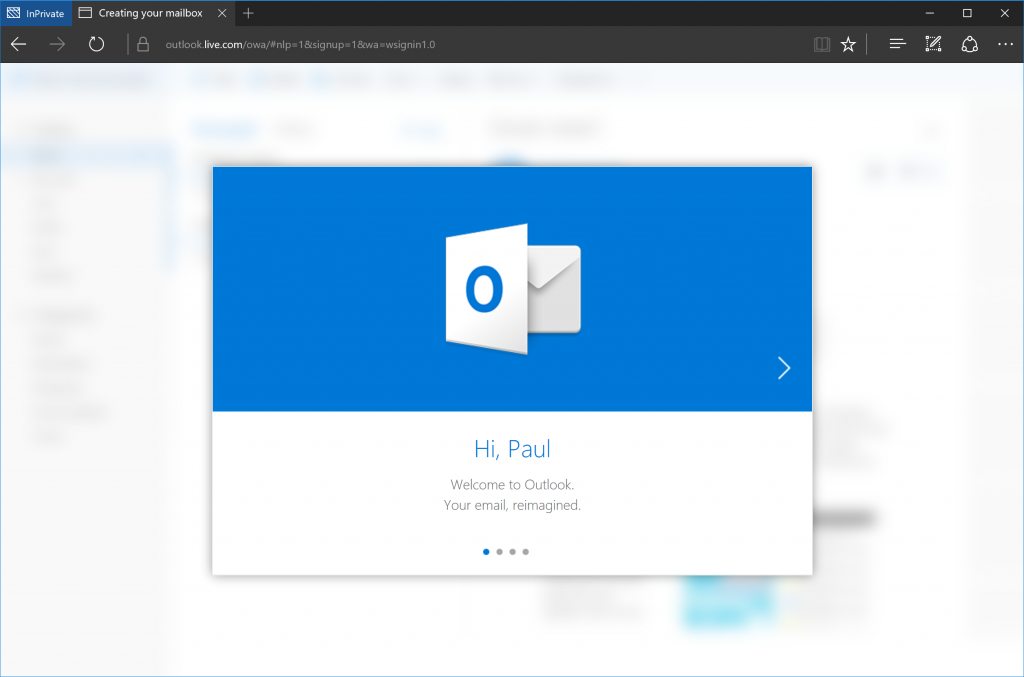
You'll then get this welcome screen whilst your mailbox is being provisioned in the background:
Signing up for Visual Studio Dev Essentials
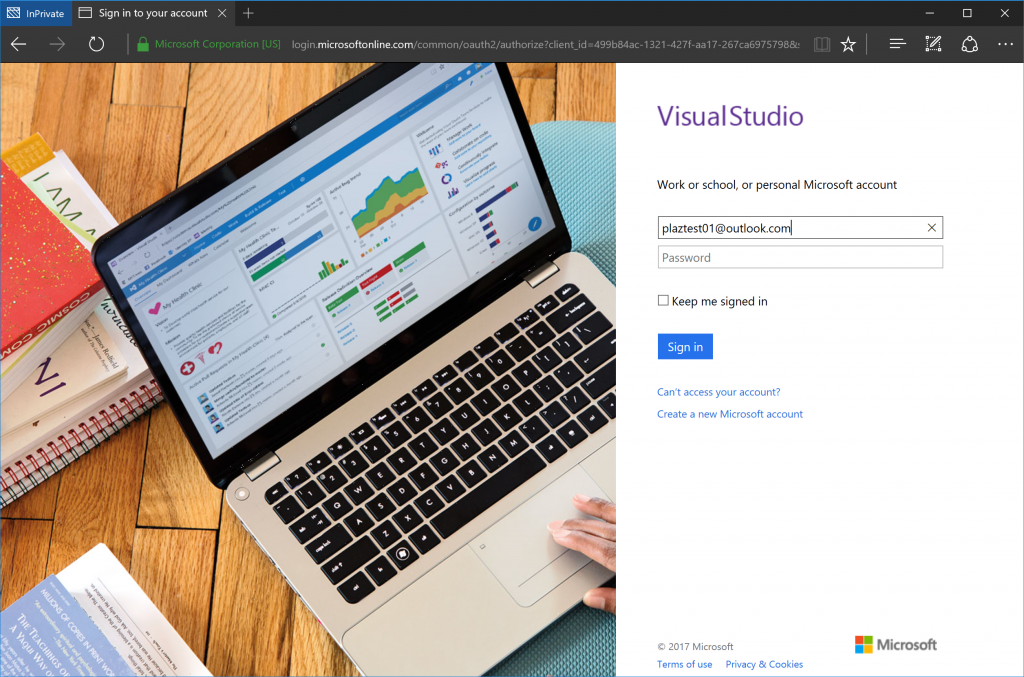
Once your account is provisioned, go to your address bar and navigate to https://my.visualstudio.com/ where you'll be asked to sign in - use the account you just created (or if you skipped the last section, the Microsoft account you want to use):
When you log in you'll be asked to confirm your name, country, email address and to accept the terms and conditions:
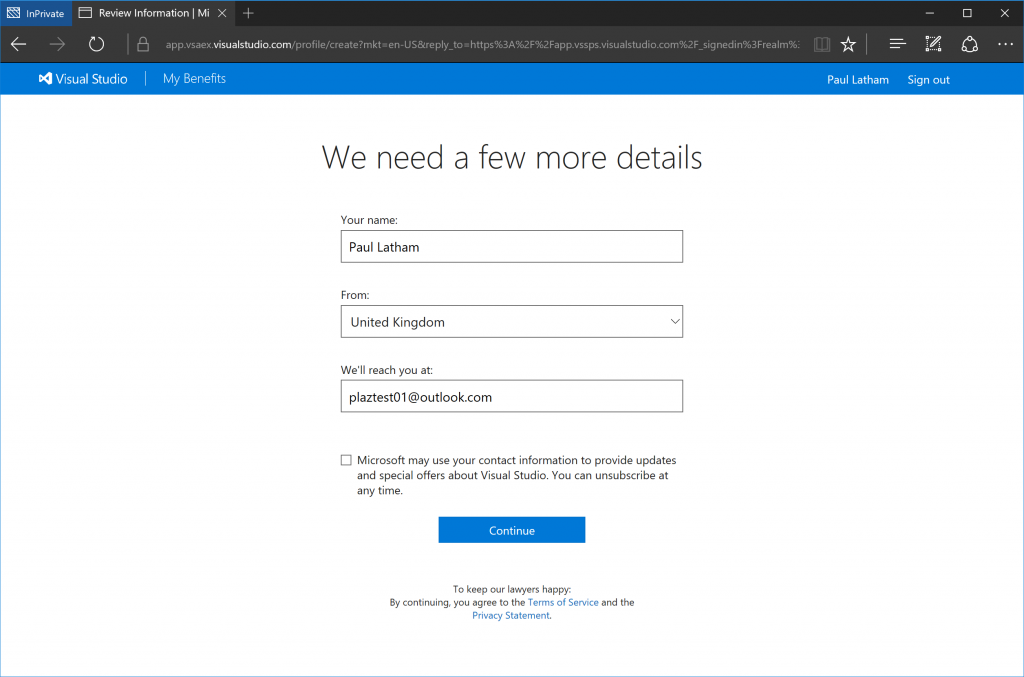
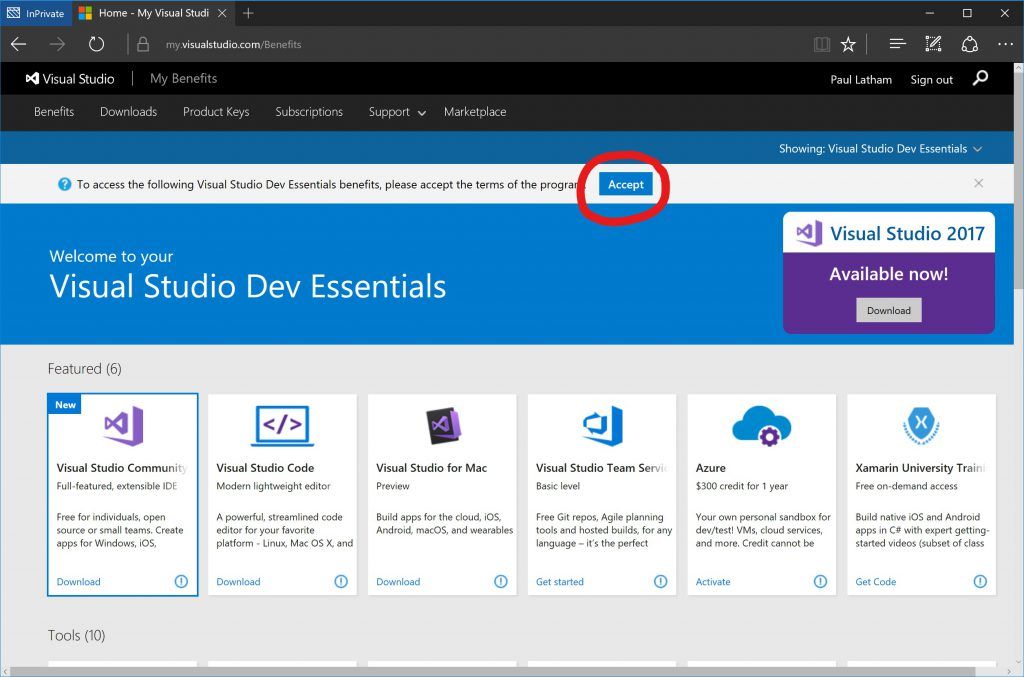
Once you've filled that in and clicked Continue, you'll be greeted with all the cool benefits you've now got access to - but before you can use them, you need to accept the terms of the program by clicking the Accept button at the top:
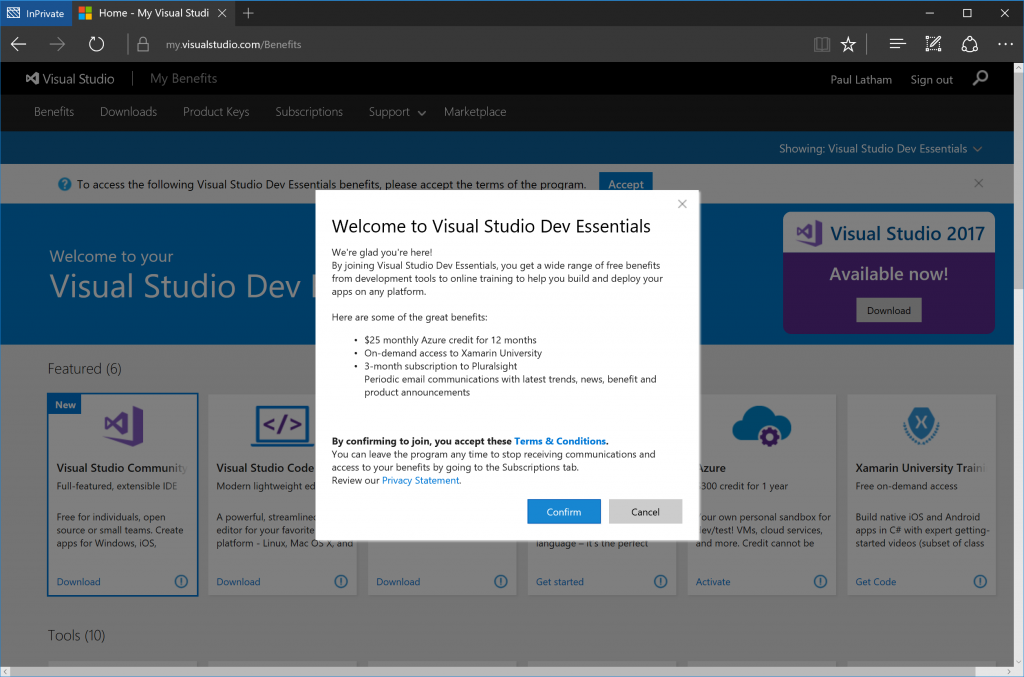
This screen will then pop up, if you accept the terms click on Confirm :
Wahey you're good to go! Look at all this cool stuff you've now got access to for free!
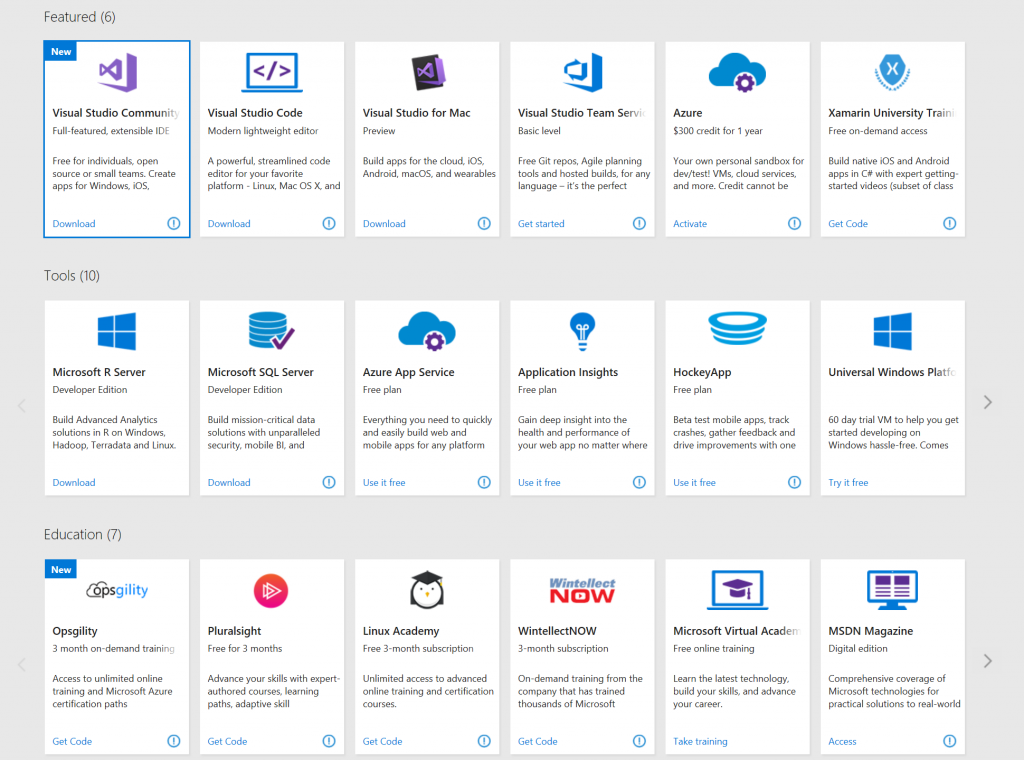
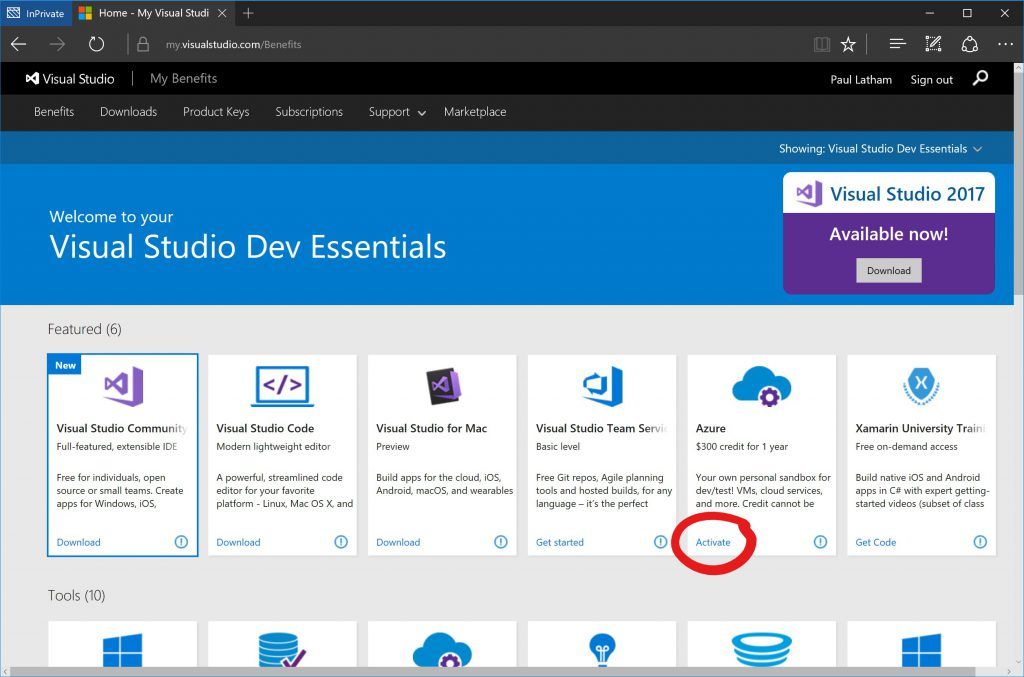
So let's go ahead and activate that free Azure credit; click on Activate on the Azure tile shown here:
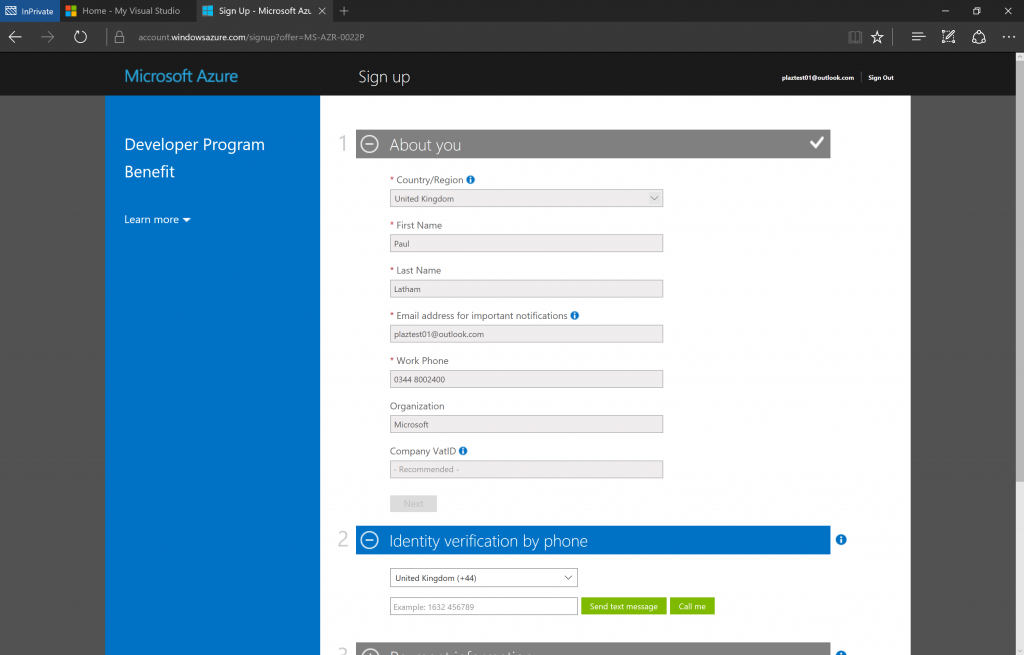
You'll now be taken to the Azure signup page - fill in your details in Section 1 and then click Next. Section 2 will open and you need to fill in a phone number to verify you're not a bot - you can choose to receive a verification code via either SMS or phone call. Enter your number, click your option e.g. "Send Text Message" and then a box will appear to ask for your verification code. Once you've done that, Section 3 will open.
Now section 3 is titled "Payment Information" - your account will be provisioned with a spending limit of $0 which means once you've used your free monthly allowance all your VMs etc. will shut down and your subscription disabled, preventing you from going over your free allowance.
However - some things aren't covered by the spending limit such as third party licences, azure ad premium (although there's a free trial for that when you go to activate it) - all the info is here: https://azure.microsoft.com/en-us/pricing/spending-limits/ - please read it and be aware.
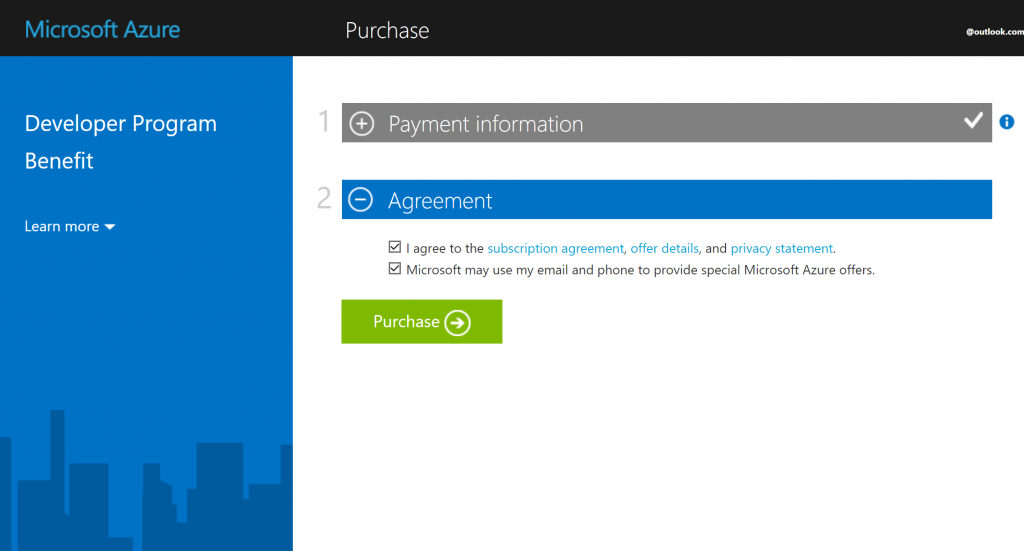
Once you've completed the payment information section, all that's left to do is accept the terms and click "Purchase" (the language doesn't make it easy to convince you this is really free does it? but honestly if you're going to sign up and poke around the portal, spin up some windows vms, maybe a test domain controller so you can try your new script out before you run it for real, that sort of thing, you've nothing to worry about, it's free, really! )
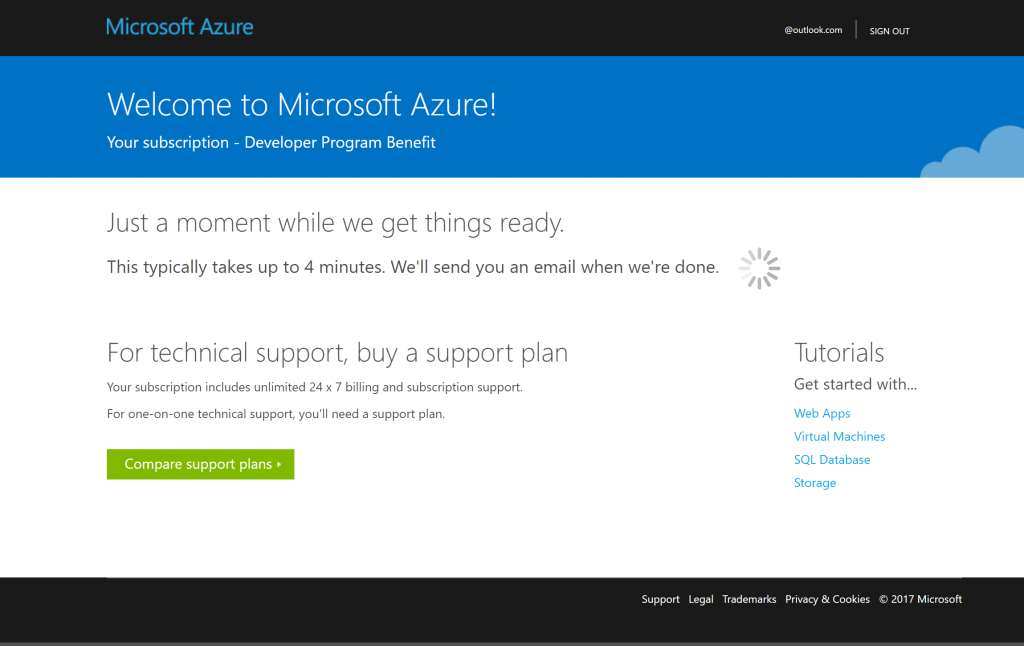
Right, job done! You'll see this for a few seconds:

This page will then open:
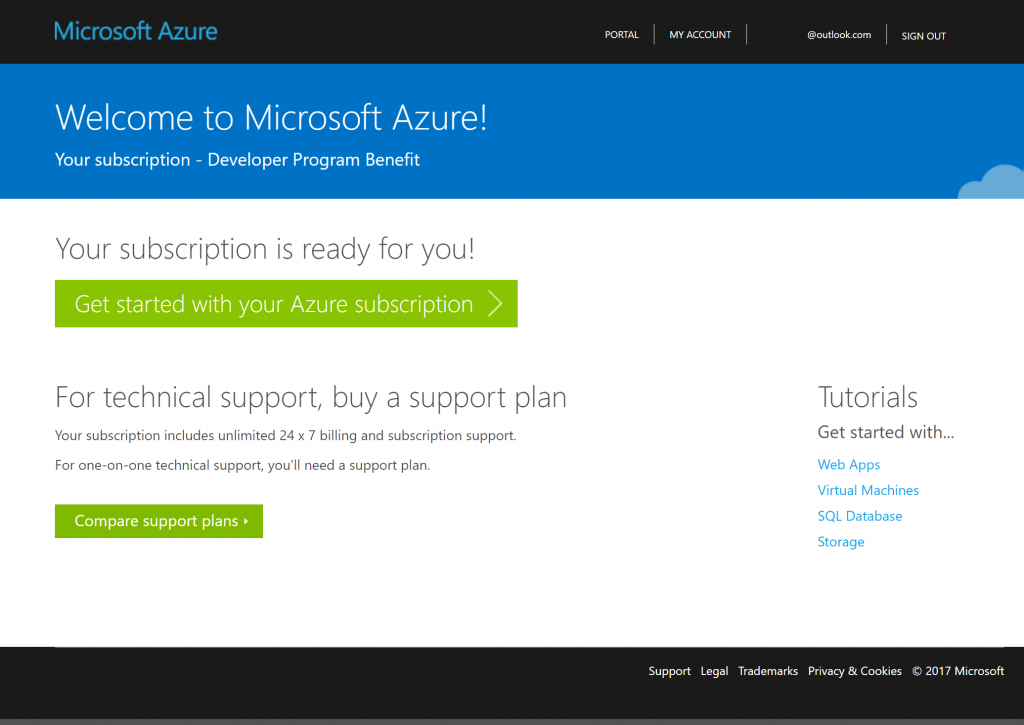
Finally you'll see this, click Get Started!:
You'll then find yourself here in the Azure Resource Manager portal, also known as the "new" portal or by it's codename "Ibiza" - the URL is https://portal.azure.com/ so add that to your Favourites :) - Notice the pop-up that appears in the top right when you log in showing you how much credit you've got left this month - it's in pounds because I'm in the UK! That's also the reason I put a "u" in favourites....
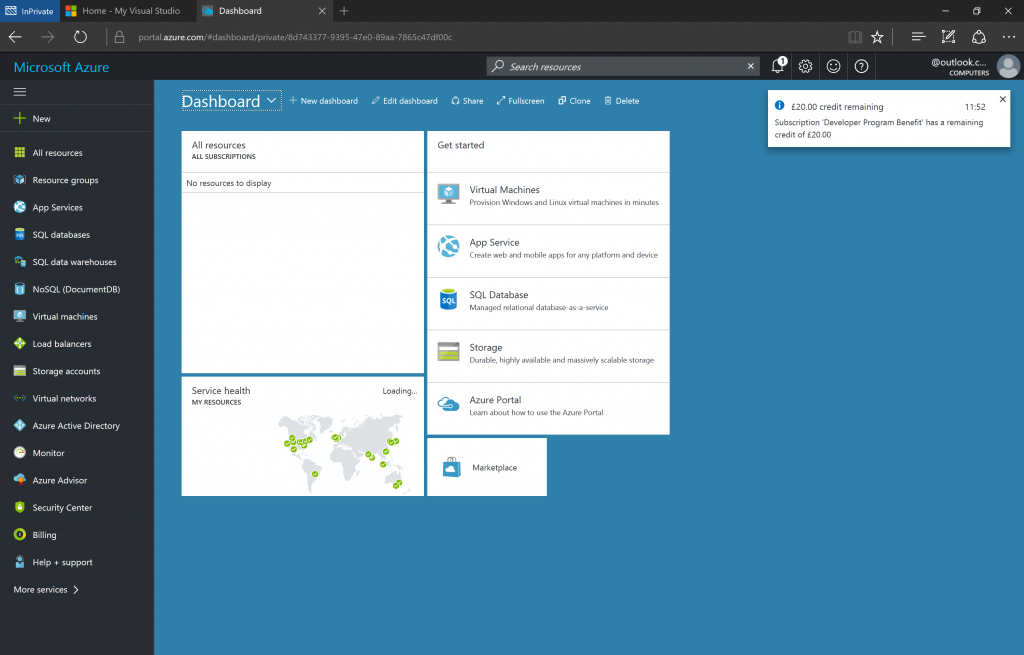
You can get going from here now, don't forget to check our the other free stuff in Visual Studio Dev Essentials, maybe do a Pluralsight training course and use Azure as your lab? Oh and remember to shut down your VMs from the portal (rather than inside the VM OS) when you're not using them to get the most out of your free credit, you don't pay for the compute when they're in the "Stopped (Deallocated)" state!
If you're wondering where to start how about completing the ( free ) fundamentals course here https://www.microsoft.com/en-us/learning/azure-skills-training.aspx
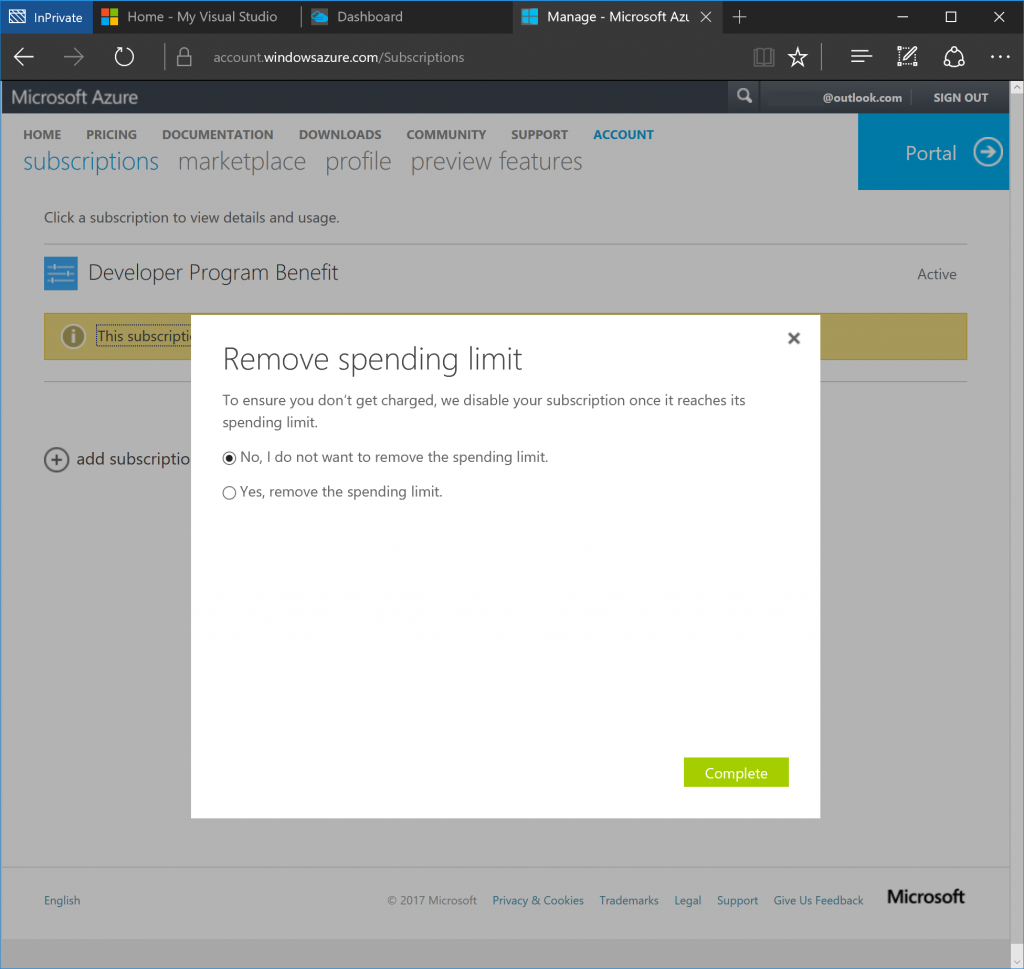
If you want to verify that the spending limit is applied to your account (or you want to remove it) here's how you check.
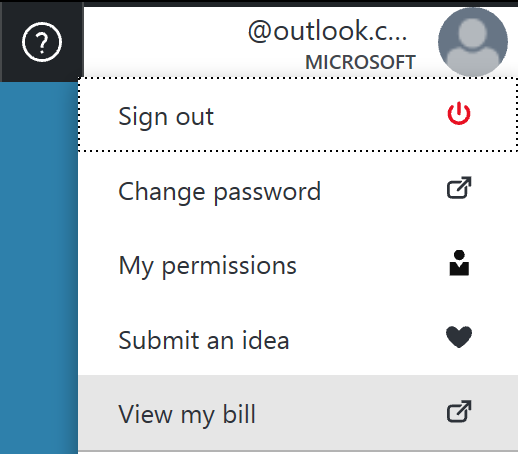
Click on your name in the top right and choose "View my bill"
You'll find yourself on the screen below; click on "Account Center":
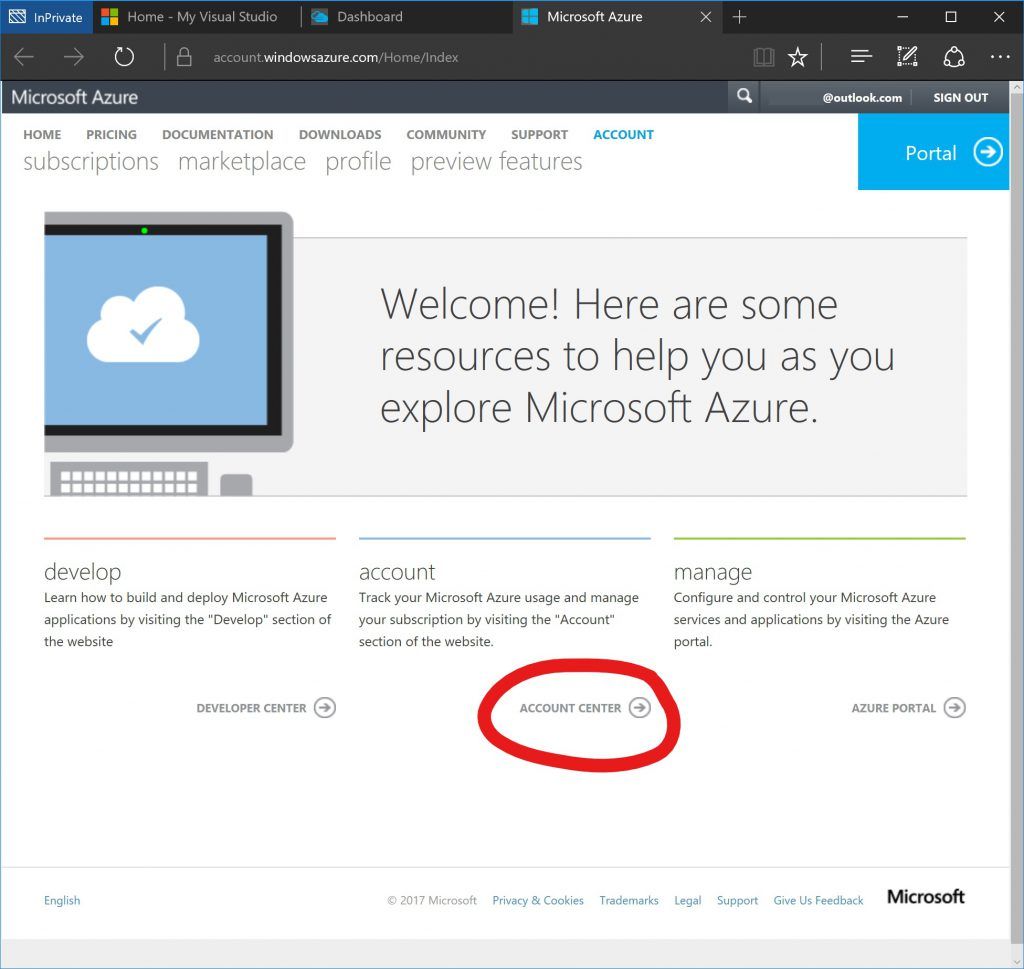
Here you can see there is a limit applied to the subscription (the yellow banner.)
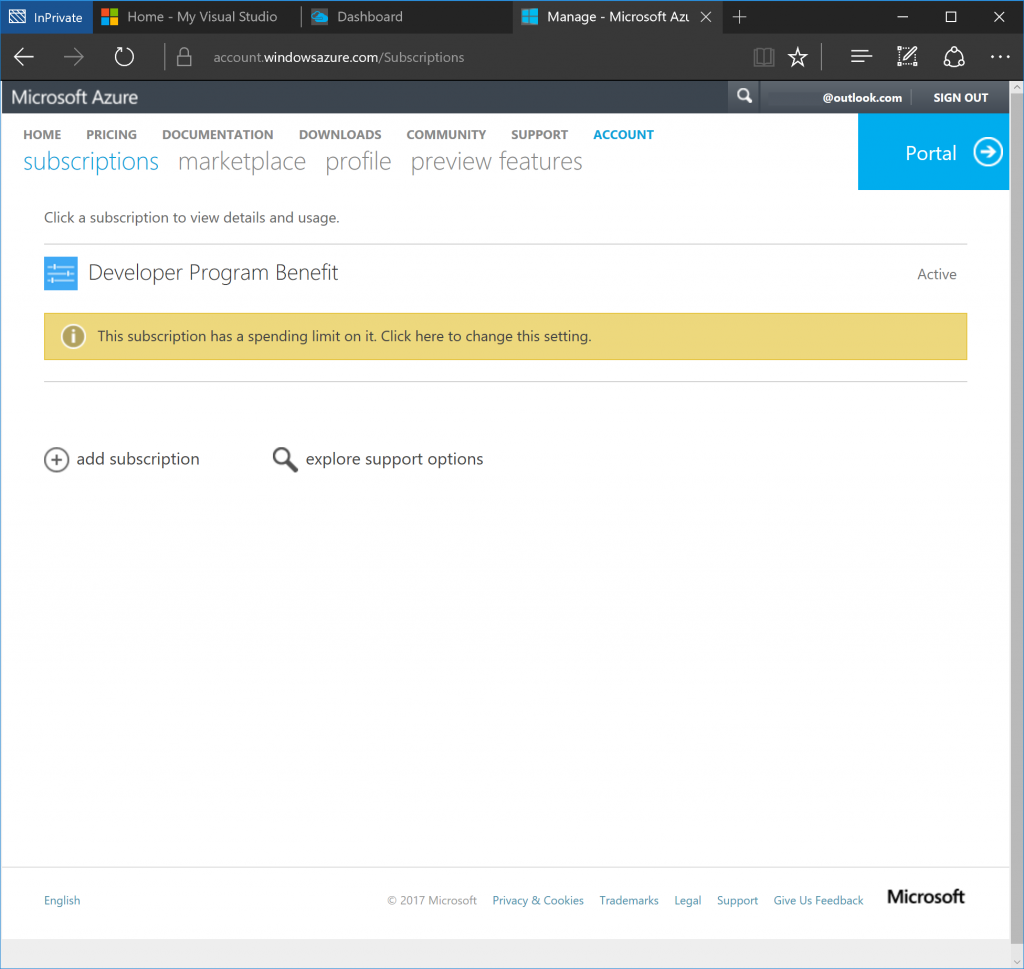
If you click on the banner, you get the option to remove the spending limit:
I hope this blog post has been useful, please comment below if it has and I'll continue to do more! Sayonara for now.
